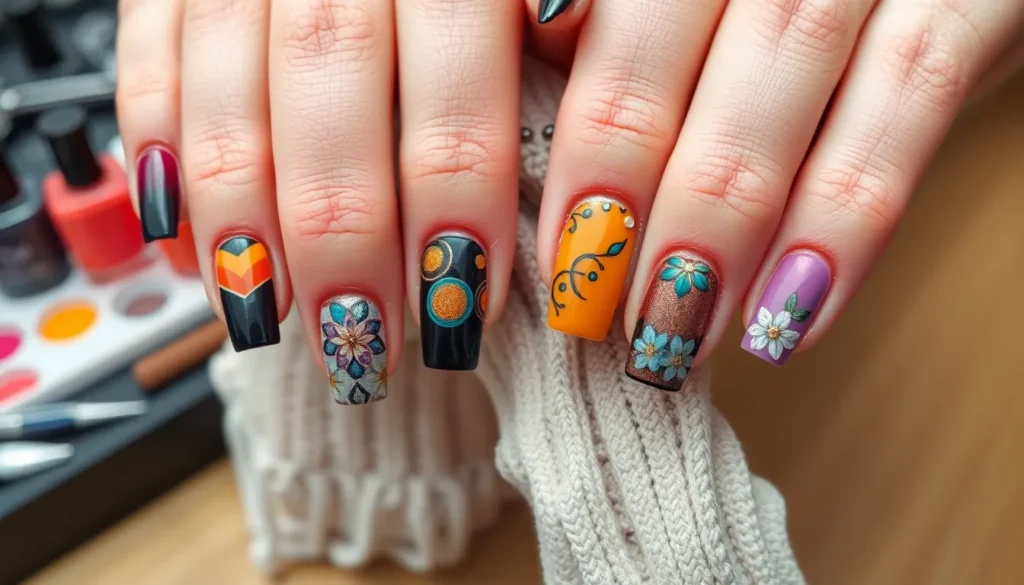
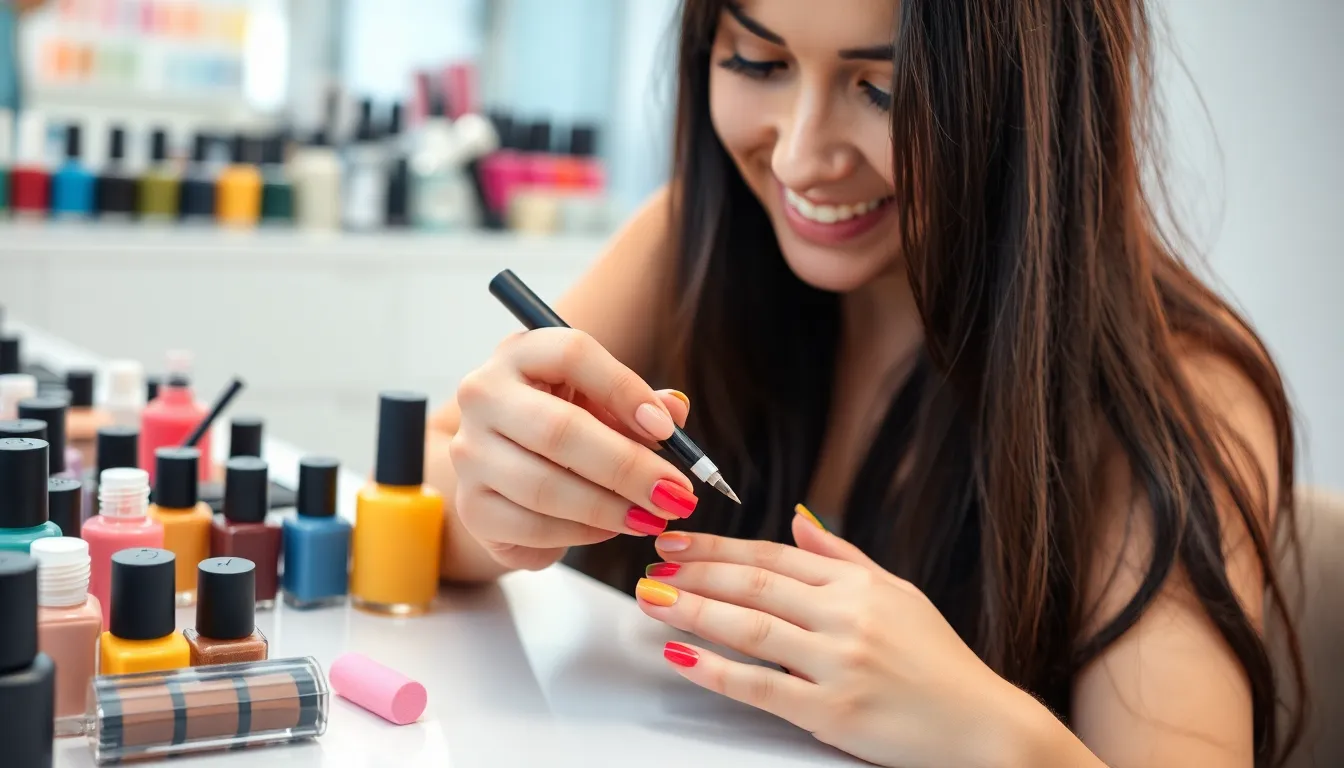
Square nails have taken the beauty industry by storm and we can’t get enough of their bold geometric appeal. This classic nail shape offers the perfect canvas for stunning nail art designs that make a statement wherever you go. Whether you’re rocking short square nails for everyday wear or flaunting long dramatic squares for special occasions we’ve got the inspiration you need.
We’ve discovered that square nails aren’t just trendy – they’re incredibly versatile for nail art creativity. From minimalist geometric patterns to intricate detailed designs this nail shape provides excellent stability and surface area for artistic expression. The clean straight edges create sharp defined lines that enhance virtually any design you choose.
Ready to transform your square nails into miniature masterpieces? We’re about to share game-changing nail art ideas techniques and pro tips that’ll have you creating salon-worthy designs at home. Let’s jump into the exciting industry of square nail artistry and unlock your creative potential.
Choose the Right Base Colors for Square Nail Art
Selecting the perfect base color sets the foundation for any stunning square nail design. The right shade can either complement your nail art or make it the star of the show.
Neutral Tones That Complement Angular Shapes
Nude and beige shades create the perfect canvas for intricate square nail designs. These versatile colors like ballet slipper pink, champagne, and warm taupe allow detailed artwork to pop without competing for attention. We’ve found that neutral bases work exceptionally well with geometric patterns, delicate florals, and metallic accents.
Classic white remains our top choice for crisp, clean square nail art. This timeless shade enhances the sharp angles of square nails while providing maximum contrast for colorful designs. White bases showcase everything from minimalist line work to bold graphic patterns with stunning clarity.
Soft gray tones offer a sophisticated alternative to traditional neutrals. Colors like dove gray, pearl, and light silver create an elegant backdrop that complements both warm and cool accent colors. These shades particularly enhance angular designs and modern art concepts.
Cream and off white variations provide warmth while maintaining versatility. Shades like vanilla, ivory, and antique white soften the bold edges of square nails without sacrificing their geometric appeal. We recommend these tones for vintage inspired designs and romantic nail art themes.
Bold Colors That Enhance Sharp Edges
Deep jewel tones amplify the dramatic effect of square nail shapes. Colors like emerald green, sapphire blue, and ruby red create striking bases that emphasize angular edges. These rich shades work beautifully with gold foil accents, crystal embellishments, and negative space designs.
Classic black transforms square nails into powerful statement pieces. This bold choice enhances every sharp corner while creating maximum impact for metallic details, bright accent colors, and glossy topcoats. Black bases particularly suit edgy geometric patterns and modern art inspirations.
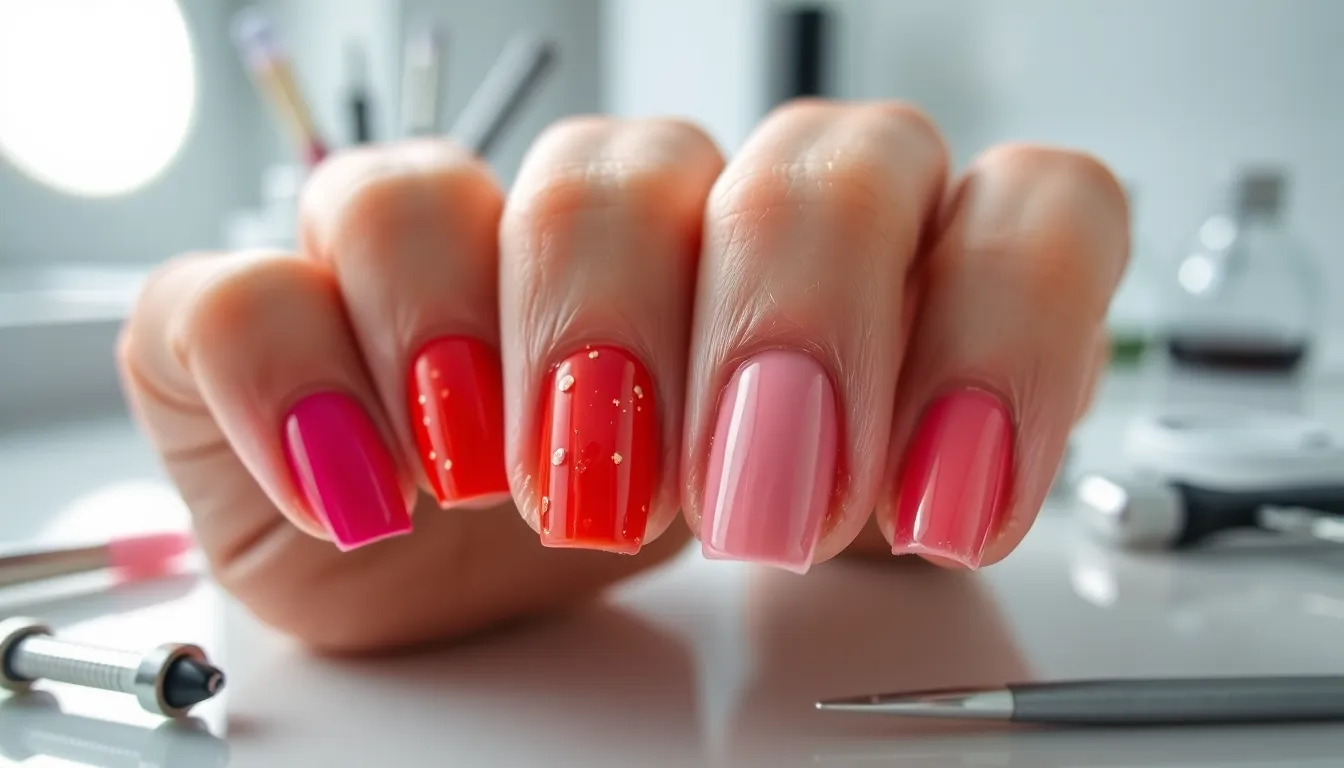
Vibrant coral and orange shades bring energy to square nail designs. Colors like tangerine, peach, and salmon create eye catching foundations that complement both warm and neutral accent tones. We’ve noticed these shades work exceptionally well with tropical themes and summer nail art collections.
Electric blues and teals create stunning contrasts against sharp square edges. Shades like cobalt, turquoise, and navy provide bold canvases for metallic designs, white accents, and artistic patterns. These colors particularly enhance ocean inspired themes and contemporary geometric artwork.
Master Geometric Patterns Perfect for Square Nails
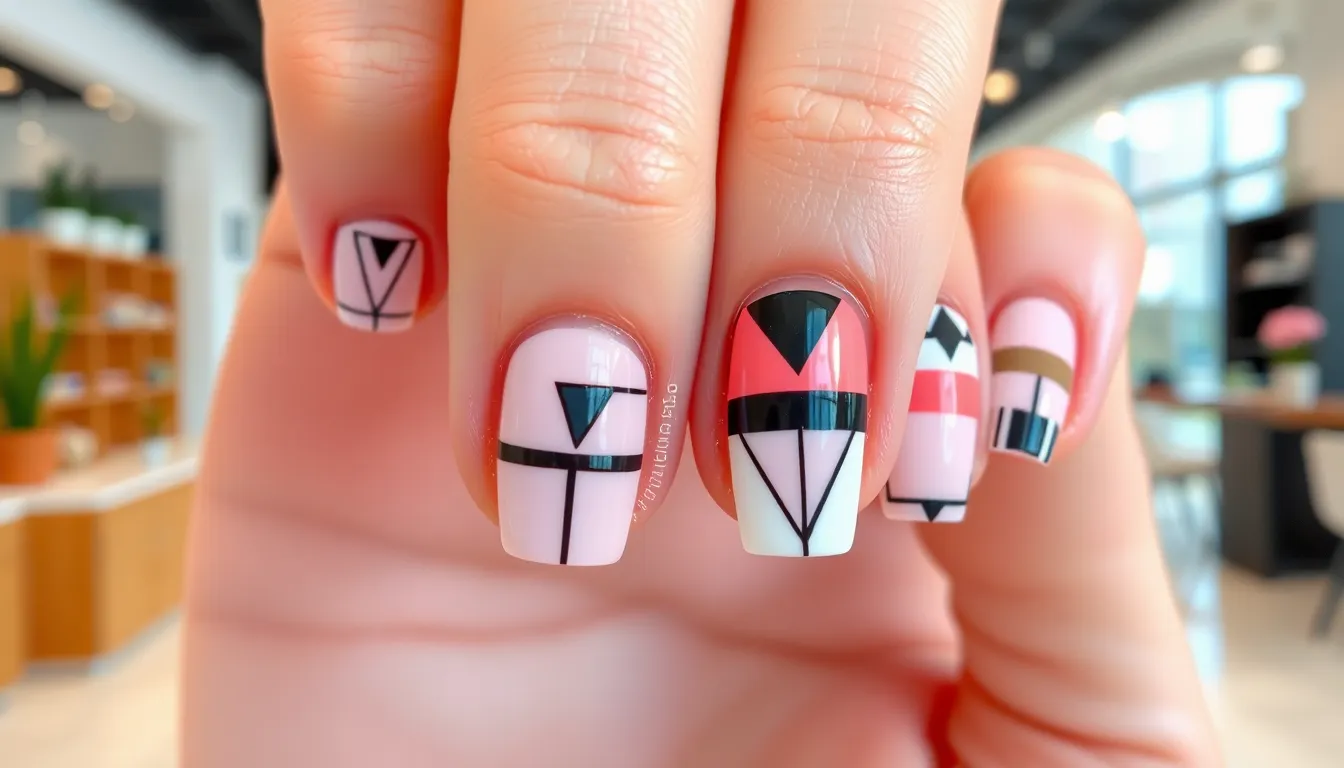
Square nails provide the ideal foundation for geometric patterns thanks to their clean edges and defined shape. We’ll explore three essential techniques that showcase the natural beauty of square nails while creating stunning visual impact.
Clean Lines and Minimalist Designs
Minimalist geometric designs emphasize the inherent elegance of square nails through simple yet sophisticated patterns. We recommend starting with monochromatic color schemes that highlight the nail’s natural architecture without overwhelming the design. Clean horizontal or vertical lines create striking effects when applied with precision, making these patterns perfect for beginners who want professional-looking results.
Creating these designs requires steady hands and quality nail art brushes to achieve the crisp edges that make minimalist patterns so appealing. We suggest using tape or nail stencils to ensure perfectly straight lines, especially when working with contrasting colors. Subtle color variations within the same tone family add depth while maintaining the minimalist aesthetic that complements square nail shapes beautifully.
Color Blocking Techniques
Color blocking transforms square nails into bold graphic statements through strategic placement of solid color sections. We’ve found that this technique works exceptionally well on square nails because their defined edges naturally complement the sharp divisions between color blocks. Horizontal stripes create the illusion of wider nails, while vertical blocks can make shorter nails appear longer.
Diagonal color blocking adds ever-changing movement to square nail designs and creates exciting visual tension. We recommend choosing colors with strong contrast ratios to maximize the dramatic effect of this technique. Three color combinations work particularly well, with one dominant shade and two accent colors that create balance across all ten nails.
Triangle and Diamond Accents
Triangle accents bring sophisticated geometric interest to square nails through their angular precision and versatility. We position these shapes strategically near the cuticle area or nail tips to create focal points that draw the eye. Metallic finishes enhance triangle designs by adding reflective qualities that catch light beautifully against matte base colors.
Diamond shapes elevate square nail art with their multi-faceted appearance and luxury appeal. We create these designs using nail art pens or small brushes to achieve the precise points that make diamond patterns so striking. Combining triangles and diamonds within the same design creates layered geometric compositions that showcase the artistic potential of square nail shapes.
Create Stunning French Manicure Variations
Square nails provide the perfect foundation for reimagining the timeless French manicure. We’ll explore how to transform this classic look with contemporary twists that highlight your nail’s sharp edges.
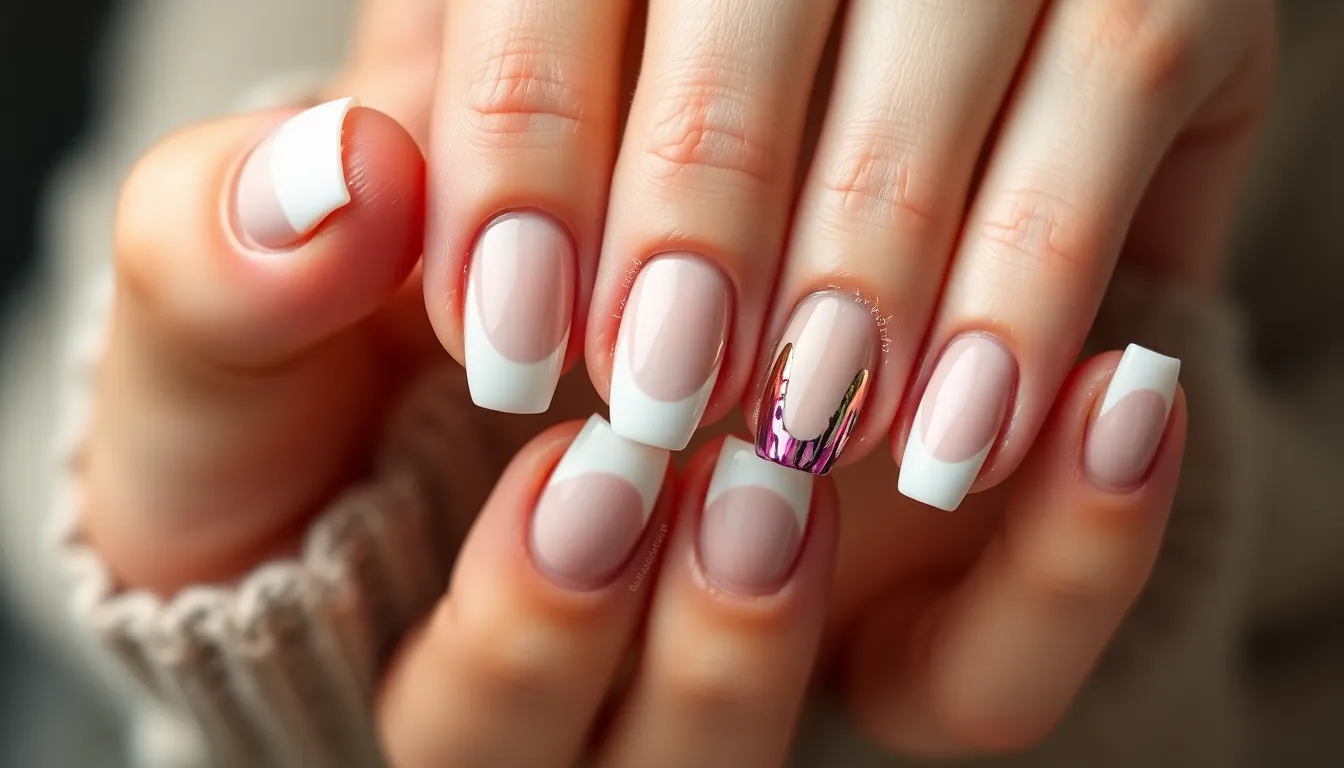
Classic French Tips with Sharp Corners
Traditional white tips gain dramatic impact when paired with square nail shapes, creating clean lines that emphasize the geometric silhouette. We recommend maintaining crisp corners that follow your nail’s natural square edge rather than rounding them off.
Nude base colors work exceptionally well with this approach, allowing the sharp white tips to become the focal point. Consider using a slightly pinker nude tone to warm up the overall look while maintaining that classic French elegance.
Sharp corner technique requires steady application along the nail’s edge, ensuring both sides create perfectly symmetrical angles. Use a thin brush to define the corners precisely, building up the white polish in thin layers for optimal opacity.
Colored French Tips for Modern Appeal
Vibrant orange and yellow tips transform the traditional French manicure into a playful, contemporary design that showcases your square nail’s bold geometry. These bright colors create striking contrast against neutral base shades.
Bold color combinations like electric blue tips with cream bases or coral tips with soft gray foundations offer endless creative possibilities. We suggest testing color pairs on a nail wheel first to ensure they complement your skin tone.
Metallic accents elevate colored French tips by adding shimmer along the tip line or at the corners. Gold foil details work particularly well with warm colored tips, while silver accents enhance cool toned designs.
Crystal embellishments can be strategically placed at the corner points to add glamorous sparkle without overwhelming the design. Choose crystals that complement your chosen tip color for cohesive results.
Double French and Multi-Line Designs
Double French tips feature two contrasting colors stacked on each nail tip, creating bold visual impact that showcases the square shape’s ample canvas space. Start with a thinner first line, then add a wider second color above it.
Multi-line patterns incorporate three or more parallel lines across the nail tip, using alternating colors or gradual ombre transitions. This technique works particularly well when you use colors from the same family for smooth blending.
Geometric ombre fades within the tip area add sophisticated dimension to your French manicure variations. Blend complementary shades from light to dark, or create rainbow effects using multiple bright colors.
Contrasting line widths create ever-changing visual interest by varying the thickness of each colored band. Pair thin metallic lines with wider color blocks, or alternate between thick and thin applications for rhythmic appeal.
Apply Gradient and Ombre Effects Successfully
We’ll transform your square nails into stunning canvases using gradient and ombre techniques that highlight their geometric beauty. These blending methods create seamless color transitions that enhance the sharp, defined edges of square nail shapes.
Horizontal Gradients That Follow the Square Shape
Horizontal gradients work exceptionally well on square nails because they follow the natural width of the nail bed. Choose harmonious colors that provide enough contrast to create a distinctive gradient effect across your nails.
Apply your chosen colors horizontally using a makeup sponge, slightly overlapping each shade for seamless transitions. Start with the lightest color at the base and gradually work toward darker tones as you move across the nail surface.
Create multiple thin layers rather than attempting to achieve the full effect in one application. Allow each layer to dry completely before adding the next to ensure smooth color blending and prevent smudging.
Use liquid latex around your nail beds for easy cleanup after the gradient application process. This protective barrier saves time and keeps your cuticles clean during the blending technique.
Vertical Ombre Techniques
Vertical ombre creates dramatic effects that emphasize the length of square nails from cuticle to tip. Place lighter shades near the cuticle area and gradually transition to darker colors toward the nail tips for classic vertical ombre looks.
Apply colors using precise brush techniques, especially when working with pastel transitions that require careful blending. Use small, gentle strokes to merge colors where they meet on the nail surface.
Build your ombre effect gradually with multiple thin coats rather than heavy applications. Each layer should dry completely before applying additional color to prevent muddy mixing or uneven transitions.
Consider using colors that are adjacent on the color wheel for the most natural looking ombre effects. These complementary shades blend more easily and create smoother visual transitions.
Multi-Color Blending Methods
Multi-color blending allows you to incorporate three or more shades into stunning square nail designs. Use the sponge method to blend multiple colors together, working quickly while the polish remains workable.
Apply different colors to separate sections of your makeup sponge before pressing it onto the nail surface. This technique distributes multiple shades simultaneously and creates natural blending points.
Try brush techniques for more precise multi-color applications, especially when working with pastel shades that require careful color placement. Mix colors directly on the nail surface using gentle dabbing motions.
Finish all gradient and ombre designs with a high-quality top coat to seal the colors and add professional shine. The top coat also helps smooth any texture created during the blending process.
Design Eye-Catching Floral and Nature Motifs
Square nails provide the perfect broad canvas for intricate floral patterns, where sharp geometric edges create stunning contrast with organic flowing shapes. We’ll explore how this nail shape transforms botanical art into crisp, intentional designs that showcase nature’s beauty.
Simple Flower Designs for Beginners
Minimalist five-petal blossoms offer the ideal starting point for nail art newcomers. We recommend using dotting tools or small brush strokes to create clean daisy or tulip designs that require minimal technique but deliver maximum impact. Single accent nails featuring these simple flowers provide a modern, sophisticated look that’s easy to achieve at home.
French tip variations replace traditional white lines with tiny flower motifs for a fresh twist on classic manicures. These designs work particularly well on square nails because the defined tip area provides clear boundaries for precise flower placement. Beginners can start with single small blooms positioned at each corner of the nail tip.
Hand-painting techniques using thin brushes and colored gel or acrylic paint allow for detailed rose and abstract floral creation. We suggest practicing basic petal shapes on practice wheels before applying designs to actual nails. Encapsulating these painted flowers under clear gel or top coat layers enhances both durability and visual depth.
Leaf Patterns and Botanical Elements
Simple leaf motifs complement floral designs using natural green hues applied with precision brushes. We create these botanical elements through single brush strokes that mimic real leaf shapes, from basic oval forms to more detailed serrated edges. Small foliage accents positioned around flower designs add natural authenticity to nail art compositions.
Advanced vine patterns span entire nail surfaces with intricate tropical leaf designs that showcase artistic skill. These complex botanical elements require steady hand control and multiple green shades to achieve realistic depth and dimension. We recommend starting with simple single leaves before progressing to interconnected vine patterns.
Negative space designs highlight botanical elements by leaving portions of natural nail exposed around leaf patterns. This technique creates sophisticated contrast that makes green botanical elements appear to float on the nail surface. We position these designs strategically to maintain visual balance while showcasing the square nail’s defined shape.
Seasonal Nature-Inspired Art
Spring cherry blossom designs capture renewal themes using soft pink and white color palettes that reflect the season’s delicate beauty. We create these designs with fine brush techniques that emphasize the light, airy quality of blooming trees. Small rhinestone or bead embellishments at flower centers add dimensional interest to these seasonal motifs.
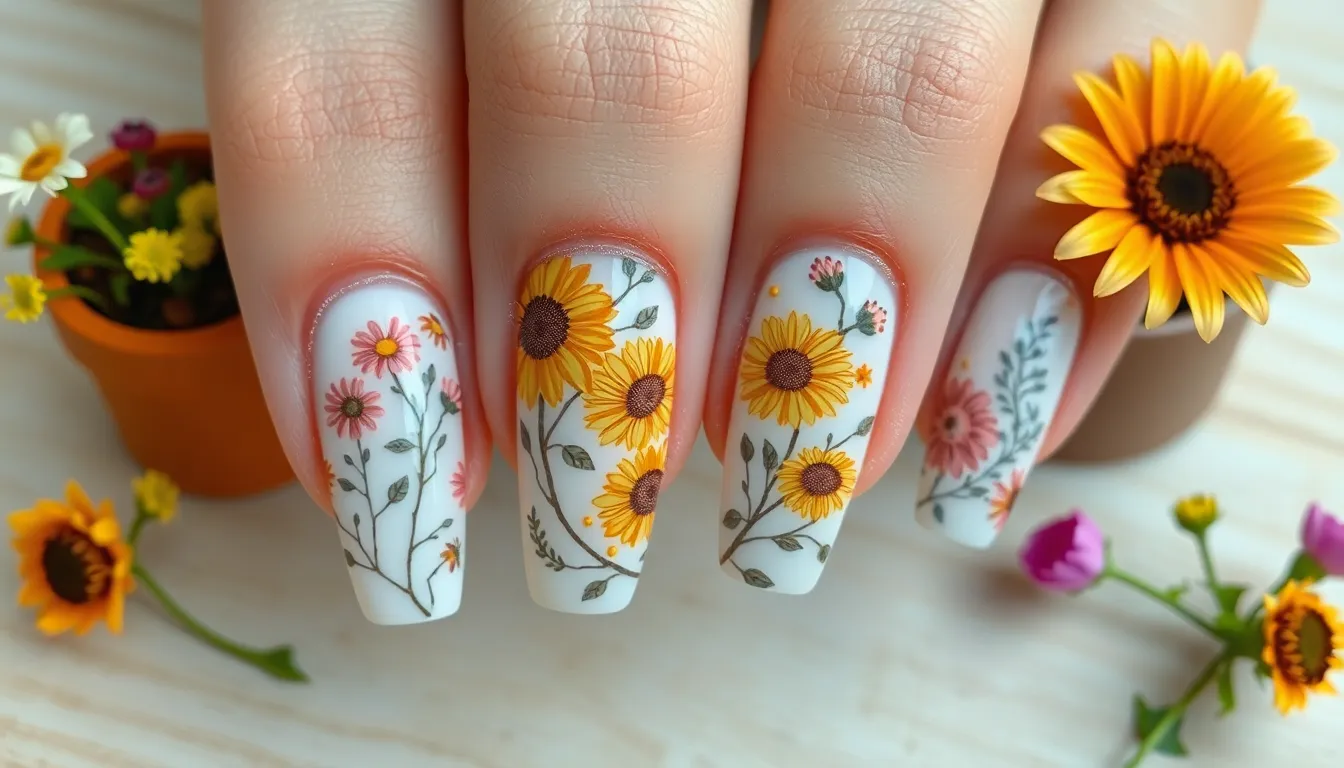
Summer sunflower patterns use bright yellow and orange hues that embody warm weather energy and vibrance. These bold designs work exceptionally well on square nails because the flower’s circular shape contrasts beautifully with geometric nail edges. We recommend incorporating tiny brown centers using dotting tools for authentic sunflower appearance.
Autumn maple leaf art employs rich burgundy, orange, and golden tones that capture fall’s natural color transformation. These seasonal designs benefit from color blending techniques that mimic real leaf variations and aging patterns. We layer different shades to create realistic autumn foliage that celebrates the season’s warm palette.
Winter evergreen motifs combine deep green tones with white accent details that evoke snowy forest imagery. These designs often incorporate snowflake elements or tiny white dots that represent falling snow around botanical elements. We suggest using metallic silver accents to enhance winter’s crystalline beauty and add sophisticated sparkle to seasonal nail art.
Incorporate Metallic and Chrome Finishes
Metallic and chrome finishes transform square nails into stunning works of art that catch light and create mesmerizing reflective surfaces. We’ve found that these modern techniques work exceptionally well on square nails because their flat surfaces enhance the even distribution of metallic effects.
Gold and Silver Accent Details
Gold accents elevate square nail designs with luxurious warmth that complements both neutral and bold base colors. We recommend applying gold foil along the nail tips to create an elevated French manicure effect that emphasizes the sharp corners of square nails. Silver details provide a cooler metallic tone that pairs beautifully with gray and blue base shades.
Hand painted metallic lines create geometric patterns that follow the natural structure of square nails. We suggest using thin metallic brushes to paint precise borders along the nail edges or create intersecting diagonal lines. Metallic stickers offer another option for those who prefer ready made designs that can be applied quickly and sealed with top coat.
Combining gold and silver accents on the same nail creates dimensional contrast that makes square nails appear more ever-changing. We often see this technique used in alternating patterns where gold details appear on some nails while silver accents highlight others in the same manicure.
Chrome Powder Application Techniques
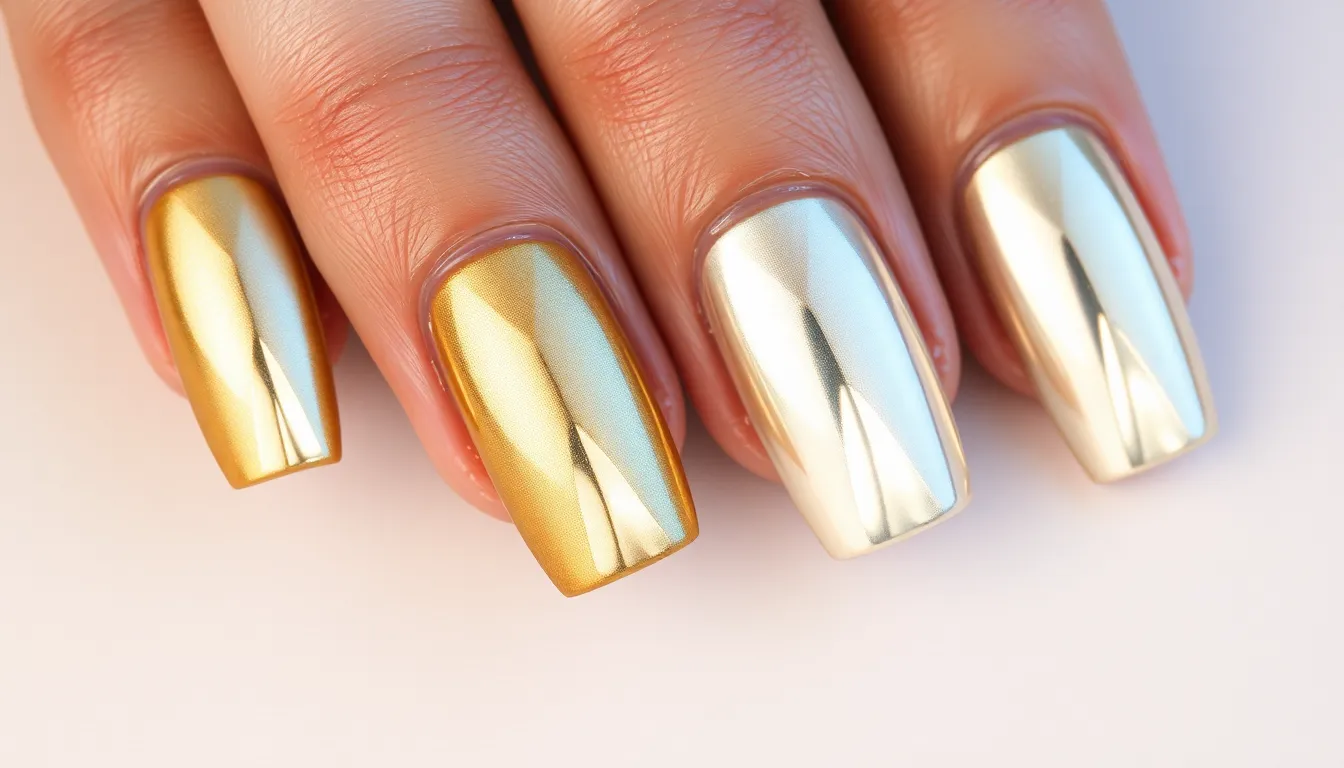
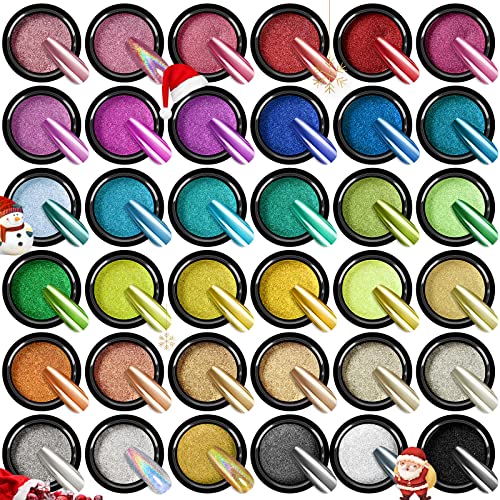
Chrome powder requires exact application steps to achieve that perfect mirror like finish on square nails. We start by applying a smooth base gel polish and curing it completely under LED or UV light. The tacky surface that remains after curing becomes the foundation for chrome powder adhesion.
Buffing chrome powder onto the tacky surface requires gentle pressure and circular motions to ensure even coverage across the entire nail surface. We use a soft eyeshadow brush or specialized chrome applicator to work the powder into every corner of the square nail shape. This technique prevents streaking and creates a uniform reflective surface.
Sealing chrome powder properly ensures the finish lasts without chipping or dulling over time. We apply a non wipe top coat immediately after the chrome application to lock in the metallic particles and protect the mirror finish. The large surface area of square nails makes this sealing step particularly important for maintaining the chrome effect.
Mixed Metallic Combinations
Gradient fades between different metallic colors create stunning visual effects that showcase the full surface of square nails. We blend gold into silver or copper into bronze using makeup sponges to achieve smooth transitions between metallic shades. These techniques work especially well on longer square nails where there’s more space for color development.
Color blocking with multiple metallics creates bold geometric statements that emphasize the angular nature of square nails. We often combine rose gold sections with silver areas or alternate between warm and cool metallic tones on different sections of the same nail. This approach creates modern art inspired designs that feel both sophisticated and edgy.
Alternating metallic accents across different nails in the same manicure allows for creative expression while maintaining cohesion. We might use chrome backgrounds on the thumb and ring finger while incorporating gold foil details on the remaining nails. Mixed metallic manicures pair beautifully with matte base colors that provide contrast and make the metallic elements appear more vibrant.
Add Texture with Dotting and Stamping Techniques
Square nails provide the perfect canvas for adding dimensional texture that enhances their geometric beauty. The broad, flat surface offers ideal conditions for varied nail art techniques that create visual and tactile interest.
Polka Dot Patterns and Spacing
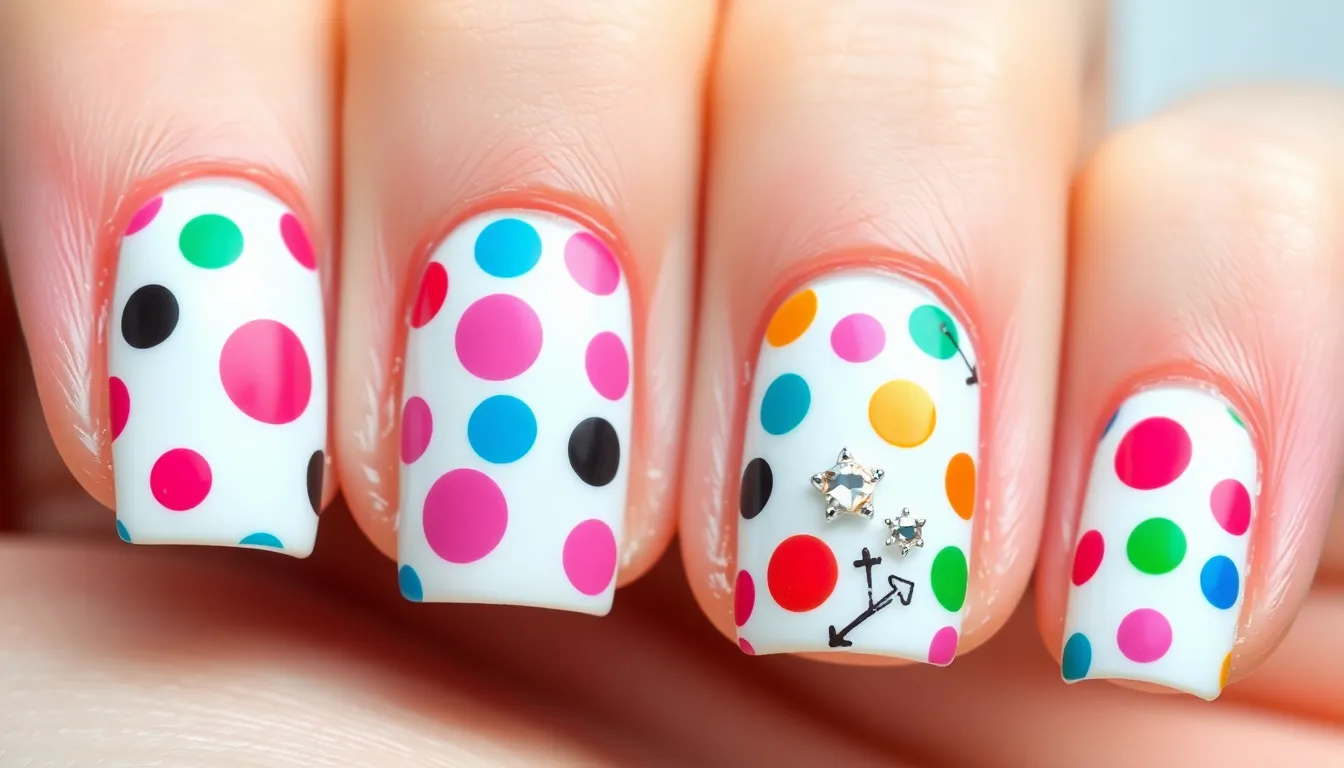
Dotting tools create uniform polka dot patterns that complement the structured lines of square nails beautifully. We recommend spacing polka dots evenly across the nail surface or clustering them for a more playful, organic look. Alternating rows of dots enhance the sharp lines of square nails while maintaining a clean and balanced appearance.
Placing dots along the free edge creates a border effect that emphasizes the square shape’s defined edges. Strategic positioning of larger dots at the nail’s center with smaller ones radiating outward draws attention to the nail’s geometric silhouette. Monochromatic dot patterns in varying sizes add subtle texture without overwhelming the square nail’s clean aesthetic.
Stamping Designs That Work on Square Shapes
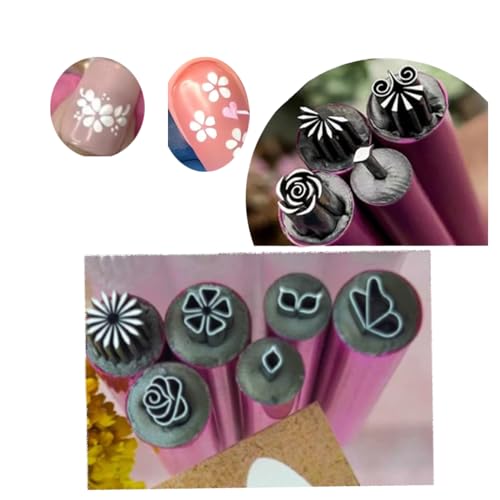
Stamping designs are highly compatible with square nails due to their straight edges and ample surface space. Geometric patterns, floral motifs, and abstract designs can be placed with precision and clarity on the flat nail bed. We suggest selecting larger and bolder stamp patterns to minimize crowding and maximize visual impact on square nail surfaces.
Full coverage stamps work exceptionally well on square nails because they use the entire nail surface effectively. Positioning stamps centrally ensures balanced coverage while maintaining the nail’s structured appearance. Layering multiple stamps creates depth and complexity that takes advantage of the square shape’s stability.
3D Texture Applications
Embellishments such as studs, rhinestones, and beads are affixed with gel or glue to create dimensional effects on square nails. The flat surface provides stable anchoring points for these decorative elements while maintaining structural integrity. We recommend placing larger embellishments strategically to avoid interference with daily activities.
Textured nail powders and sculpted acrylics create raised patterns that accentuate the square nail’s flat surface effectively. These materials offer both tactile and visual interest while complementing the nail’s geometric form. Foil and metallic accents add depth and glamour when applied over a base coat, creating reflective surfaces that enhance the square shape’s bold appearance.
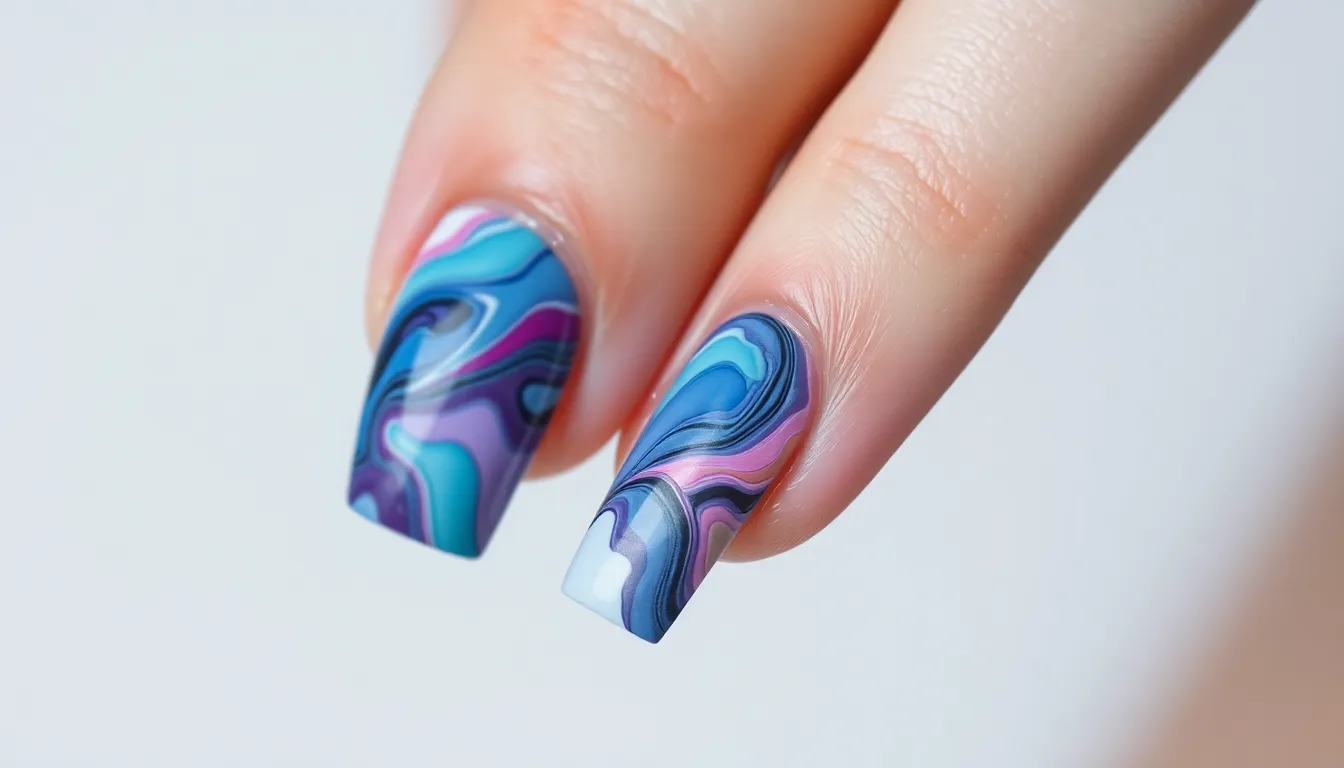
Water based marble techniques adapt well to square nails, allowing for intricate swirls and veins that capitalize on the flat canvas. The technique creates organic patterns that contrast beautifully with the nail’s structured edges while maintaining visual harmony.
Experiment with Negative Space Nail Art
Negative space designs perfectly complement square nails by creating striking contrasts between painted and unpainted areas. These techniques allow your natural nail to become part of the artistic design itself.
Cut-Out Designs That Highlight Natural Nails
Cut-out designs create stunning minimalist looks by applying polish around central unpainted areas on your square nails. We recommend starting with simple geometric shapes like triangles or rectangles positioned at the nail’s center. Polish application around these designated areas creates clean, defined borders that emphasize your nail’s natural beauty.
Crisscross patterns work exceptionally well with the angular structure of square nails. Apply polish in intersecting diagonal lines while leaving diamond-shaped negative spaces between them. This technique produces sophisticated geometric artwork that draws attention to both the colored and natural nail sections.
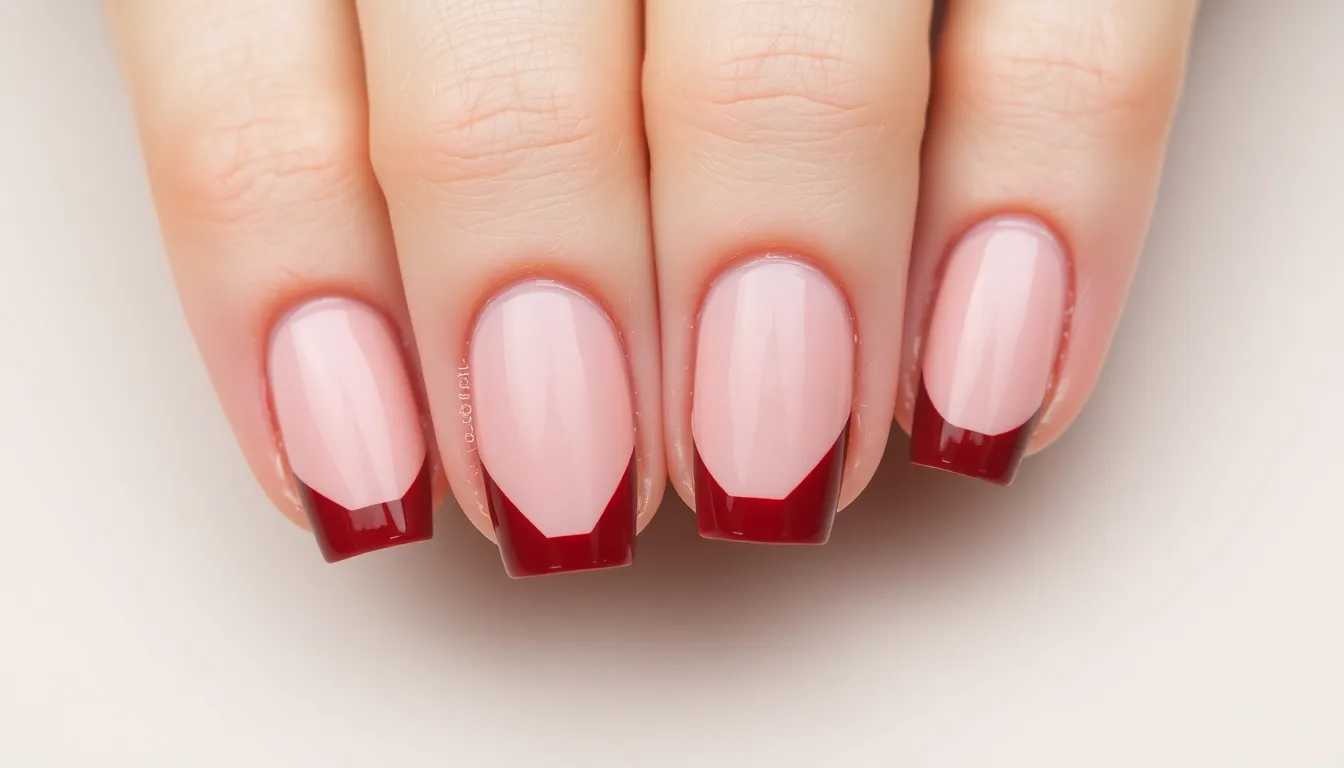
Strategic placement of cut-out designs near the nail tips creates modern French manicure variations. Leave the center portion unpainted while applying color to the outer edges and corners. This approach maintains the classic elegance of traditional French tips while adding contemporary geometric flair.
Tape and Stencil Techniques
Striping tape serves as our primary tool for creating precise negative space patterns on square nails. Apply the tape in your desired configuration, paint over the entire nail, then remove the tape before the polish fully dries. This method ensures crisp, clean lines that enhance the geometric nature of square nail shapes.
Stencils offer more intricate design possibilities for complex negative space artwork. Position pre-cut stencils strategically on your nail surface, then apply polish over the stencil. Floral patterns and geometric shapes become easily achievable through this technique, allowing for detailed designs without requiring advanced artistic skills.
Multiple tape applications create sophisticated layered effects on square nails. Apply the first layer of tape, paint, remove, let dry, then repeat with different tape positions. This process builds complex geometric patterns that showcase multiple negative space elements within a single design.
Strategic Color Placement
Contrasting colors maximize the visual impact of negative space designs on square nails. Bold, dark shades like deep blues or blacks create dramatic contrast against natural nail tones. These strong color choices make the unpainted areas appear more prominent and defined.
Base coat application becomes crucial for protecting your natural nails during negative space designs. Apply a clear base coat to the entire nail before creating your negative space pattern. This preparation ensures healthy nail maintenance while providing better polish adhesion to painted areas.
Tip-focused color placement creates striking negative space effects on square nails. Apply bold colors exclusively to the nail tips while leaving the majority of the nail bed unpainted. This technique draws attention to the sharp corners of square nails while maintaining an elegant, modern appearance that works well with any outfit or occasion.
Master Advanced Marble and Abstract Designs
Moving beyond traditional patterns, we can explore sophisticated techniques that transform square nails into artistic masterpieces. These advanced methods leverage the generous surface area of square nails to create stunning visual effects.
Water Marble Techniques for Square Nails
Water marble techniques create mesmerizing swirling patterns by dropping polish onto water and manipulating the design with a tool. We recommend starting with room temperature water in a wide cup to give yourself plenty of space to work. The broader surface area of square nails allows for more intricate pattern development compared to other nail shapes.
Creating your marble design requires patience and practice. Drop alternating colors of nail polish onto the water surface, then use a toothpick to create swirls and patterns. The key is working quickly before the polish begins to set on the water’s surface.
Dipping technique involves slowly lowering your prepared nail into the water at a 45-degree angle. We suggest using tape around your cuticles to minimize cleanup afterward. The wider canvas of square nails captures more of the marble pattern, resulting in dramatic visual impact.
Finishing touches include carefully removing excess polish from the water surface before lifting your nail. This technique can be challenging initially, but the unique swirling designs it creates are perfect for showcasing on square nails’ generous surface area.
Abstract Paint Stroke Patterns
Abstract paint stroke patterns involve using bold brushstrokes to create ever-changing, expressive designs on your nails. We can leverage the broad canvas of square nails to showcase dramatic strokes and vibrant color combinations that make powerful artistic statements.
Brush selection plays a crucial role in achieving the desired effect. Flat brushes create wide, sweeping strokes while liner brushes produce thin, delicate lines. We recommend having multiple brush sizes available to create varied stroke weights within your design.
Color application techniques include loading your brush with paint and creating confident, fluid movements across the nail surface. Bold brushstrokes work exceptionally well on square nails because the shape provides stability and ample space for expressive artwork. The defined edges of square nails frame these abstract patterns beautifully.
Layering methods allow you to build depth and complexity in your designs. Start with lighter base colors and gradually add darker accent strokes on top. We suggest allowing each layer to dry completely before adding the next to prevent unwanted blending.
Alcohol Ink Effects
Alcohol ink effects create vibrant, fluid patterns by applying alcohol-based ink to the nail surface. This technique produces seamless color transitions and adds remarkable depth to nail designs, making it particularly effective on the flat surface of square nails.
Application process begins with preparing your nails with a base coat to protect the natural nail. We apply alcohol ink drops directly onto the nail surface, then use a small brush or cotton swab to blend and manipulate the colors. The alcohol base allows for extended working time compared to traditional nail polish.
Color blending techniques create stunning gradient effects as the alcohol ink naturally flows and merges. Multiple colors can be applied simultaneously, allowing them to interact organically on the nail surface. The wide surface area of square nails provides excellent space for these fluid patterns to develop.
Sealing methods require a quality top coat to lock in the alcohol ink design. We recommend applying thin layers to avoid disturbing the underlying pattern. This technique creates seamless transitions between colors and produces depth that appears almost three-dimensional on square nails.
Maintain and Protect Your Square Nail Art
Proper maintenance ensures your square nail art remains vibrant and chip-free for weeks. We’ll guide you through essential protection techniques that preserve both your artistic designs and nail health.
Top Coat Application for Longevity
Apply a medium layer of top coat to seal your nail art and prevent chipping for maximum longevity. We recommend using high-quality top coats that provide a glossy finish while creating a protective barrier over your designs. Ensure complete coverage by extending the top coat slightly over the nail’s free edge to seal the art completely.
Reapply top coat every 3-4 days to maintain the protective seal and refresh the shine. The flat surface of square nails makes top coat application easier and more even compared to curved shapes. UV/LED nail lamps provide proper curing for gel top coats, which typically last longer than traditional polish formulas.
Touch-Up Techniques
Regularly inspect your nail art for chips or smudges to maintain a flawless appearance throughout wear time. We suggest checking your nails daily for any signs of wear, particularly around the corners where square nails are most vulnerable to damage. Small chips can be addressed immediately with a fine brush and matching polish color.
Keep a small touch-up kit with your base colors and top coat for quick repairs when needed. Minor imperfections often occur within the first 24 hours after application, making immediate touch-ups crucial for long-term wear. Professional nail artists recommend applying thin layers during touch-ups to blend seamlessly with the existing design.
Removal Methods That Preserve Nail Health
Use a drill to minimize filing during nail art removal, avoiding harsh chemicals that can damage your natural nails. We recommend gentle acetone-free removers when possible, though some gel polishes may require acetone for complete removal. Soak cotton pads with remover and place them on each nail for 10-15 minutes before gently pushing off the softened polish.
Apply moisturizer to your cuticles and nail bed immediately after removal to prevent dryness and maintain optimal nail health. Rubber Base products provide additional stability during the removal process while protecting the nail plate from damage. Schedule removal sessions when you have adequate time to avoid rushing the process, which often leads to nail damage and weakening.
Conclusion
Square nails offer endless possibilities for creative expression and we’ve shown you how to transform them into stunning canvases. From geometric patterns to intricate florals and everything in between these techniques will help you achieve salon-quality results at home.
Remember that practice makes perfect and don’t be afraid to experiment with different color combinations and textures. The sharp clean edges of square nails provide the perfect foundation for both bold statement designs and subtle elegant looks.
Whether you’re drawn to minimalist negative space art or elaborate metallic finishes the key is choosing techniques that complement your personal style. With proper maintenance and care your square nail art will stay vibrant and beautiful for weeks to come.
Start with simpler designs and gradually work your way up to more complex techniques. Your square nails are waiting to become your next masterpiece.
Frequently Asked Questions
What makes square nails ideal for nail art?
Square nails provide an excellent canvas for nail art due to their flat surface area and defined edges. Their geometric shape offers stability for intricate designs and clean lines that enhance patterns like geometric shapes, French manicures, and abstract art. The sharp corners and broader nail bed create more space for detailed artwork compared to other nail shapes.
Which base colors work best for square nail art?
Neutral tones like nude, beige, and classic white are perfect for showcasing intricate designs, while soft gray offers sophistication. Bold colors such as deep jewel tones and black create dramatic effects that complement square nails’ sharp edges. Vibrant shades like coral and electric blue provide energetic appeal and striking contrast for eye-catching designs.
What are the most popular nail art techniques for square nails?
Popular techniques include geometric patterns that leverage clean edges, minimalist designs with monochromatic schemes, and color blocking for bold statements. French manicure variations, gradient and ombre effects, floral motifs, metallic finishes, and negative space designs are particularly effective on square nails due to their flat surface and defined structure.
How do I create perfect geometric patterns on square nails?
Use tape or stencils for precise lines and clean edges. Start with a base coat, apply your base color, then use striping tape to create geometric sections. Fill in with contrasting colors, remove tape while polish is slightly wet, and finish with a top coat. Triangle and diamond accents work particularly well with metallic finishes.
What’s the best way to maintain square nail art?
Apply a high-quality top coat in medium layers to seal designs and prevent chipping. Reapply top coat every 3-4 days for longevity. Keep a touch-up kit with matching polish and a fine brush for minor repairs. Use gentle, acetone-free removers for safe removal and always moisturize cuticles afterward.
Can beginners create professional-looking square nail art?
Yes! Start with simple techniques like dotting patterns, basic geometric shapes using tape, or minimalist French tips. Practice with neutral base colors and gradually progress to more complex designs. Stamping plates and stencils help achieve professional results without advanced hand-painting skills. Focus on precision and patience for best results.
How do gradient and ombre effects work on square nails?
Square nails are perfect for gradients due to their flat surface. For horizontal gradients, use a makeup sponge to blend colors across the nail width. Vertical ombre emphasizes length with lighter shades near cuticles and darker tones at tips. Always finish with a quality top coat for smooth transitions and professional shine.
What seasonal nail art designs work well on square nails?
Spring designs feature pastel florals and fresh greens, summer showcases bright tropical colors and beach motifs, autumn incorporates warm oranges and leaf patterns, while winter focuses on deep blues, silvers, and snowflake designs. The flat surface of square nails accommodates detailed seasonal artwork and themed color palettes beautifully.
