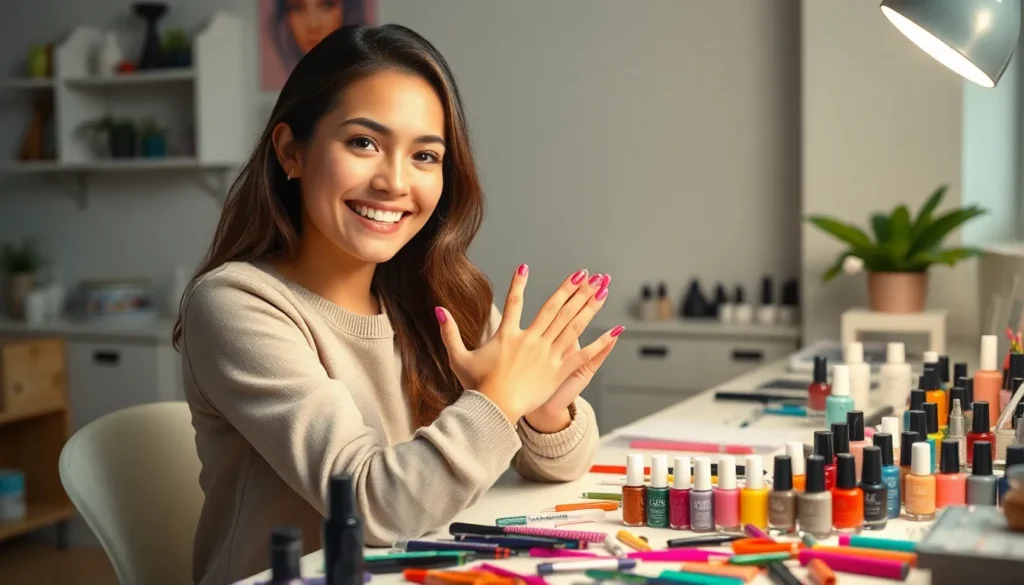
Ready to transform your plain nails into stunning works of art? We’ve all admired those gorgeous nail designs on social media and wondered if we could create something equally beautiful at home. The good news is that you absolutely can – and it’s easier than you think!
We understand that starting your nail art journey can feel overwhelming when you’re scrolling through complex designs that seem impossible to recreate. That’s exactly why we’ve curated a collection of beginner-friendly nail art techniques that require minimal tools and zero professional experience. From simple dots and stripes to elegant geometric patterns you’ll discover that creating salon-worthy nails doesn’t require years of practice.
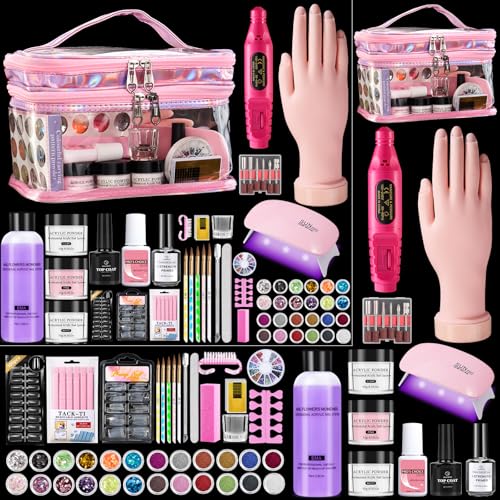
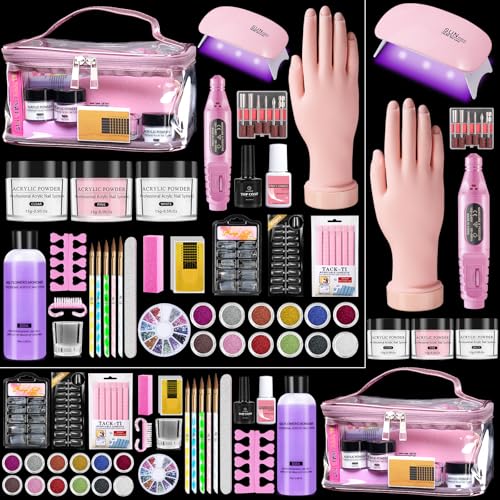
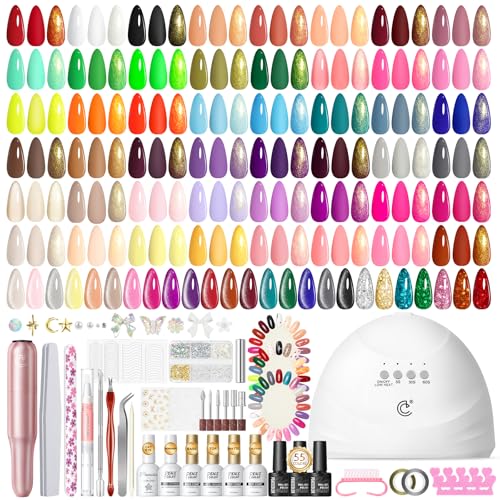
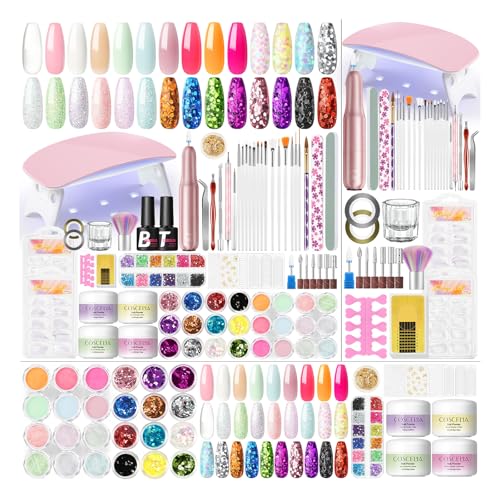
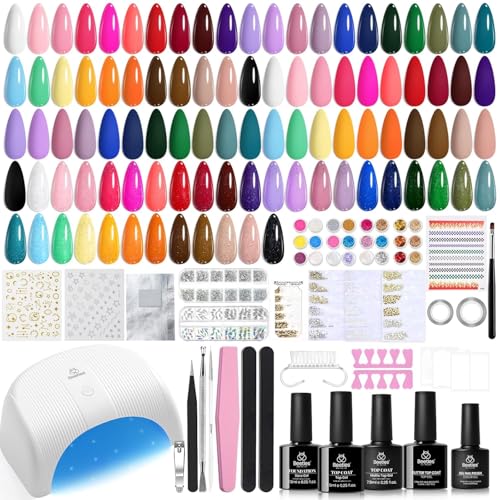
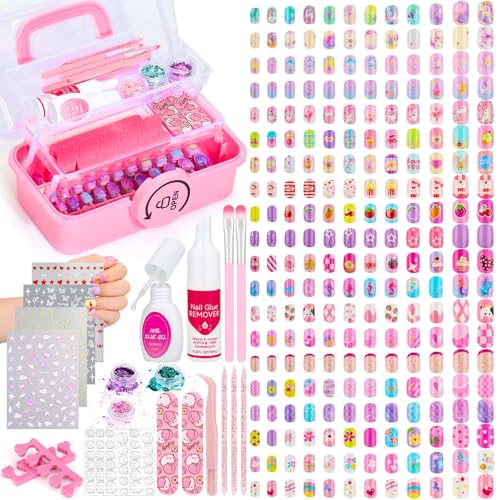
Essential Tools and Supplies for Beginner Nail Art
Starting your nail art journey becomes much easier when you have the right tools at your fingertips. We’ll walk you through the must-have supplies that’ll help you create beautiful designs without very costly.
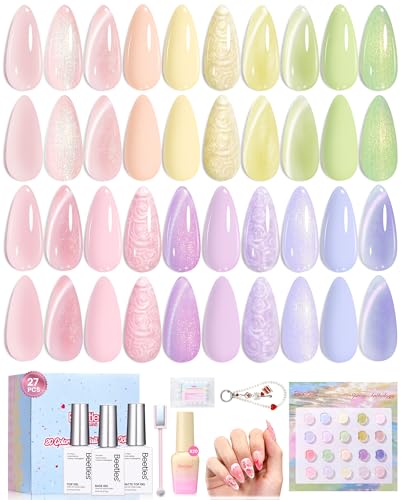
Basic Nail Polish Colors
Black and white polishes serve as your foundation colors for countless nail art designs. These two essentials allow you to create stripes, dots, geometric patterns, and classic French manicures with ease.
Nude and clear polishes provide the perfect base for subtle nail art techniques. We recommend choosing a nude shade that complements your skin tone, as it’ll become your go-to color for elegant, everyday designs.
Primary colors including red, blue, and yellow expand your creative possibilities dramatically. These three shades can be mixed to create secondary colors, giving you access to an entire rainbow of design options without purchasing dozens of bottles.
Metallic polishes in gold and silver add instant glamour to any nail art creation. These shimmery finishes work beautifully as accent colors or can be used to create stunning gradient effects with your other polishes.
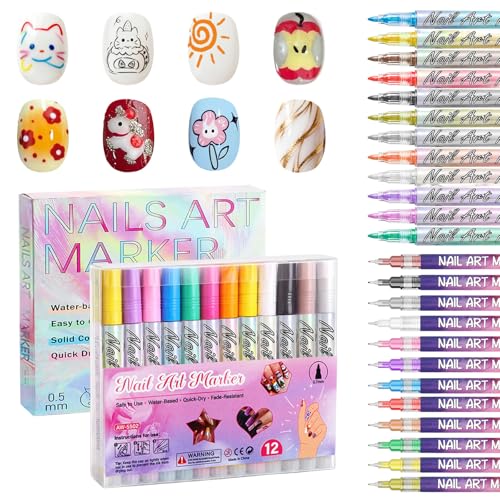
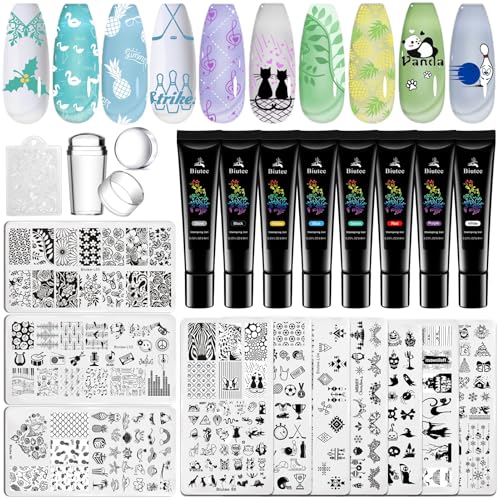
Nail Art Brushes and Dotting Tools
Thin liner brushes help you create precise lines, intricate patterns, and detailed artwork on your nails. We suggest starting with a size 0 or 1 brush, as these provide excellent control for beginners learning to paint steady lines.
Dotting tools in various sizes make creating perfect circles and dots effortless. These inexpensive tools typically come in sets with different sized tips, allowing you to make everything from tiny polka dots to larger decorative elements.
Flat brushes work wonderfully for creating gradients, ombre effects, and filling in larger design areas. A small flat brush gives you better control than the standard polish brush that comes with most bottles.
Cleanup brushes paired with acetone or nail polish remover help you fix mistakes and clean up messy edges. These small, precise brushes are essential for achieving that professional, salon-quality finish at home.
Top and Base Coats
Base coats protect your natural nails from staining and help your polish adhere better to the nail surface. We always recommend applying a base coat before any nail art design, as it creates a smooth foundation and extends the life of your manicure.
Top coats seal in your nail art designs and provide a glossy, professional finish. A good quality top coat prevents chipping and keeps your artwork looking fresh for up to a week longer than polish alone.
Quick dry top coats speed up your manicure process and reduce the risk of smudging your designs. These specialized formulas can cut your drying time in half, making them perfect for busy beginners who want beautiful nails without the wait.
Matte top coats transform any glossy design into a sophisticated, modern look. This versatile finish option lets you completely change the appearance of your nail art with just one additional layer.


Simple Dotted Nail Art Designs

Dotted nail art serves as the perfect starting point for our nail art journey since it requires minimal tools and delivers impressive results every time.
Classic Polka Dot Pattern
Creating polka dots transforms any manicure into a playful masterpiece with just a few simple steps. We recommend starting with a solid base color and allowing it to dry completely before adding our contrasting dots. The key to achieving perfectly spaced polka dots lies in using consistent pressure and maintaining steady hand movements.
Bobby pins work exceptionally well as dotting tools since they create uniform circles every time. We can also use toothpicks or the brush end of our nail polish bottle for varying dot sizes. The contrast between our base color and dot color makes this design pop beautifully on any nail length.
Practice makes perfect when it comes to spacing our dots evenly across the nail surface. We suggest starting with larger dots and working our way down to smaller ones as we build confidence. This timeless pattern works well for both casual and formal occasions.
Gradient Dot Fade
Gradient dot fades create stunning visual depth by gradually changing dot characteristics across our nails. We can achieve this effect by varying dot sizes from large to small or by using different shades of the same color family. Starting with our darkest or largest dots near the cuticle and fading toward the tip creates beautiful dimension.
Layering technique helps us master the gradient effect by building up color intensity gradually. We begin with our lightest shade and add progressively darker dots on top for a seamless blend. Folded paper towels can help us create gradient effects with glitter polishes by dabbing away excess color.
Color intensity variation offers another approach to achieving professional looking gradients. We can use the same polish but apply varying pressure to create lighter and darker dots throughout our design. This technique works particularly well with metallic and shimmer polishes.
Flower Petals Using Dots
Flower petal designs emerge naturally when we arrange dots in circular patterns around a central point. We typically create five to six dots in a circle to form realistic looking petals. Adding a contrasting dot in the center completes our flower and creates a focal point.
Earring backs serve as excellent tools for creating uniform petal shaped dots. We can vary our flower sizes by using different sized tools or by clustering multiple small flowers together. These delicate patterns add feminine charm to any manicure style.
Multiple flowers across our nails create garden inspired nail art that’s both elegant and achievable. We suggest starting with one flower per nail and gradually adding more as our skills develop. Mixing different flower sizes and colors adds visual interest while maintaining the beginner friendly nature of this design.


Easy Striping Tape Nail Art

Striping tape opens up a industry of precise, professional-looking nail designs that’ll make you feel like a nail artist. We’re about to explore how this simple tool creates sharp lines and bold patterns with minimal effort.
Geometric Line Patterns
Geometric patterns transform your nails into modern art pieces using nothing more than straight lines and basic shapes. We create triangles, squares, and polygons by drawing lines over a base color with either the polish brush from the bottle or a thin nail art brush. Horizontal lines across the nail create a classic striped look, while vertical lines elongate the appearance of your nails.
Diagonal lines add ever-changing movement to your design, and crisscross patterns create interesting diamond or grid effects. We recommend starting with two contrasting colors to make your geometric shapes pop against the base. Practice helps achieve cleaner lines, but even slightly imperfect geometric patterns maintain their modern, minimalist appeal.
Color Block Designs
Color blocking divides your nail into bold, solid sections that create graphic, professional-looking manicures. We use painter’s tape or striping tape to section off areas, then fill each section with a different color. Two to three contrasting colors work best for maintaining visual balance without overwhelming the design.
Apply your base color first and let it dry completely before adding tape to create your blocking pattern. We paint the exposed sections with our chosen colors, then carefully remove the tape while the polish is still slightly wet to avoid peeling. Diagonal blocks create ever-changing movement, while vertical sections offer a classic, clean appearance.
Chevron and Zigzag Patterns
Chevron patterns bring playful energy to your nails through their distinctive V-shaped formations. We place striping tape across the nail in a chevron arrangement, paint the upper or lower section, then remove the tape for crisp, sharp lines. The result creates a bold pattern that looks complex but requires minimal skill to execute.
Zigzag patterns offer a more relaxed alternative that we can create either with tape guides or freehand techniques. Using a fine liner brush, we draw connected V-shapes across the nail surface over our base color. Both chevron and zigzag designs work beautifully with metallic accent colors or high-contrast combinations like black and white.


Beginner-Friendly French Manicure Variations

French manicures remain one of the most elegant and timeless nail art styles, making them perfect for beginners who want to create sophisticated looks. We’ll explore three accessible variations that build on the classic technique while offering fresh, modern twists.
Classic French Tips
Classic French tips feature a nude or light pink base with clean white tips, creating the foundation for all French manicure variations. We start by applying a base coat followed by a nude or light pink shade across the entire nail. The key technique involves carefully painting the free edge of the nail white using steady, controlled brush strokes.
Using an angled brush helps create precise lines and allows us to clean up any uneven edges for a professional finish. We recommend using striping tape to mark off the tip area if you’re still developing your freehand skills. Practice makes perfect with this technique, so don’t worry if your first attempts aren’t salon quality.
Let each coat dry completely before moving to the next step to prevent smudging and ensure a smooth application. The classic French tip works beautifully for any occasion, from everyday wear to special events.
Colored French Tips
Colored French tips replace the traditional white with vibrant or pastel polish, offering a modern twist on the classic design. We love this variation because it maintains the same simple technique while allowing for creative expression. Popular color choices include soft pastels like lavender, mint green, or coral for a subtle update.
Bold colors like electric blue, hot pink, or metallic gold create striking statement nails that still feel sophisticated. The application process remains identical to classic French tips, but we swap the white polish for our chosen color. This variation works particularly well with neutral base colors that complement rather than compete with the colored tips.
Experiment with seasonal colors to keep your manicure fresh and on trend. Spring calls for soft pastels, summer embraces bright neons, fall welcomes deep jewel tones, and winter pairs beautifully with metallics.
Reverse French Manicure
Reverse French manicures flip the traditional concept by painting the lunula area near the cuticle with a contrasting color while keeping the tips neutral or nude. This trendy variation offers the same elegant appeal as classic French tips but with a contemporary twist that’s surprisingly beginner friendly.
Mark off the lunula area using tape or nail guides to achieve clean, professional looking lines. We apply the base color first, then carefully place the tape to create a half moon shape at the nail base. The contrasting color goes on next, followed by gentle tape removal while the polish is still slightly wet.
Steady brush strokes work well for freehand application once you’ve practiced the technique a few times. Popular color combinations include nude base with white lunula, or soft pink base with metallic gold accents. This design creates visual interest while remaining understated enough for professional settings.


Simple Gradient and Ombre Effects

Gradient and ombre nail art create stunning color transitions that look professional but remain perfectly achievable for beginners. These elegant designs blend colors seamlessly on your nail surface without requiring intricate details or advanced techniques.
Two-Color Gradient Technique
Creating beautiful gradients becomes effortless when you start with just two complementary or contrasting nail polish colors. Paint each color side by side directly on your nail, then blend them at the joining point where they meet. This technique works wonderfully with the brush from your polish bottle alone, making it accessible without purchasing special tools.
Contrasting colors like navy blue and silver create dramatic effects, while complementary shades like pink and coral offer subtle elegance. Apply your first color to one half of the nail, then immediately paint the second color on the remaining half. Blend the colors together using gentle brush strokes where they meet, working quickly before the polish begins to dry.
Sponge Blending Method
Cosmetic sponges deliver the most effective gradient results for beginners because they create smooth, professional looking transitions. Apply strips of two or more nail polish colors on your makeup sponge side by side, ensuring the colors touch slightly where you want them to blend.
Dabbing the sponge gently onto your nail transfers the blended colors without harsh lines or streaks. Repeat this dabbing motion and add layers until you achieve your desired gradient intensity and coverage. The sponge technique hides imperfections naturally, making it forgiving for those still developing their nail art skills.
Glitter Gradient Tips
Glitter polish creates stunning gradient effects that sparkle while remaining incredibly beginner friendly and forgiving. Paint your chosen base color across the entire nail, then concentrate glitter polish near the tips or base by dabbing more product in those areas.
Fade the glitter out by reducing your dabs as you move toward the opposite end of the nail, creating a beautiful gradient effect. This technique works exceptionally well with metallic base colors paired with coordinating glitter shades. Finish with a clear top coat to smooth the texture and seal your sparkly gradient design for lasting durability.


Easy Floral Nail Art Designs

Floral patterns bring a delicate, feminine touch to your nails while remaining surprisingly simple for beginners. These botanical designs work beautifully on their own or can complement other nail art techniques you’ve already mastered.
Simple Daisy Patterns
Daisy nail art offers the perfect introduction to floral designs since you can create these charming flowers using just a dotting tool or nail polish brush tip. Start by painting evenly spaced white dots around a small yellow center dot on any base color of your choice. The technique focuses on making consistent petal shapes that mimic real daisies, requiring minimal precision while delivering maximum impact.
We recommend practicing the spacing between petals first, as this creates the most realistic daisy appearance. Using the brush from your nail polish bottle works perfectly if you don’t have specialized dotting tools available. The forgiving nature of this design allows for quick corrections and makes it ideal for building confidence in your nail art skills.
Rose Bud Designs
Rose buds require basic brush strokes to create tiny, swirling petals that create an elegant floral accent. Begin with a soft pink or red base color, then use a small brush or toothpick to draw curved strokes forming the rose shape from the center outward. Practice small, curved brush movements to develop the control needed for creating realistic rose formations.
Adding minimal green leaf accents beside each bud enhances the overall floral theme without overwhelming the design. This technique emphasizes gradual skill building while producing sophisticated results that work for both everyday wear and special occasions.
Leaf and Vine Accents
Leaf and vine details provide natural, botanical elements that complement flower patterns like daisies or roses perfectly. Use a fine brush or the edge of your polish brush to paint slender green vines and small leaves around your nails for lovely detail without complexity. These accents help improve your precision and brush control while creating a cohesive floral garden look.
We suggest combining leaf patterns with your flower designs across different nails for variety and visual interest. The technique works especially well when you alternate between floral focal points and subtle vine accents, creating a balanced manicure that showcases your growing nail art skills.


Basic Geometric Nail Art Patterns

Geometric patterns offer the perfect entry point for beginners venturing into nail art designs. These shapes rely on clean lines and simple symmetry, making them forgiving while still delivering striking visual impact.
Triangle and Diamond Shapes
Triangle patterns transform your nails into bold geometric statements using just your regular polish brush. We can position these sharp angles at nail tips, centers, or corners to create modern looks that require minimal skill but maximum impact. Contrasting colors enhance the geometric effect dramatically, so try pairing black triangles on white bases or gold diamonds on deep burgundy.
Diamond shapes work particularly well when centered on the nail, creating elegant focal points that catch light beautifully. Using nail striping tape helps achieve those crisp, professional edges that make geometric designs pop. We recommend starting with larger triangles before attempting smaller, more intricate patterns as your confidence builds.
Half-Moon Designs
Half-moon patterns bring classic elegance to your fingertips while remaining incredibly beginner-friendly. We create these curved shapes near the cuticle area, either leaving your natural nail exposed or painting it in a contrasting shade. Circular reinforcement stickers serve as perfect guides for achieving those smooth, even curves without expensive tools.
This timeless design works beautifully with subtle color combinations like nude and white or bold contrasts such as black and gold. We can expand on basic half-moons by adding small geometric accents or combining them with other simple patterns. The technique becomes second nature with just a few practice sessions, making it an ideal confidence builder for new nail artists.
Simple Grid Patterns
Grid designs create modern, architectural looks using nothing more than parallel lines drawn horizontally and vertically across your nails. We achieve these clean patterns by using thin brushes or striping tape to form perfect squares and rectangles. Two contrasting polish colors work best, with one serving as the base and another for the grid lines.
These patterns look particularly striking when we use metallic accents over matte bases or bright colors over neutral foundations. Starting with wider spaces between lines makes the technique more manageable for beginners. We can vary the grid density or create asymmetrical patterns once basic skills develop, turning simple lines into sophisticated geometric art.


Effortless Glitter and Accent Nail Ideas

Glitter transforms any manicure into something special without requiring advanced skills or complicated techniques. We’ll show you how to create stunning sparkly designs that are perfect for beginners.
Single Accent Nail Techniques
Creating a single accent nail is one of the most beginner-friendly ways to add interest to your manicure. Paint four nails in your chosen base color, then select your ring finger (the most popular choice) for your accent design. Apply glitter polish directly to this nail using the brush that comes with the bottle, making it completely accessible without additional tools.
Contrasting colors work beautifully for accent nails, such as pairing a nude base with a bold metallic accent or combining soft pastels with striking glitter. This technique minimizes potential errors since you’re only focusing on decorating one nail. The chic effect you’ll achieve requires minimal steps and gives maximum impact with little effort.
Glitter Gradient Applications
Glitter gradients create a sophisticated fade effect that looks professional but stays forgiving for beginners. Start by applying your base color to all nails and let it dry completely. Concentrate glitter polish near your cuticle area, then gently dab the brush toward the tip to create a fading effect.
Layer the glitter polish in less concentrated amounts as you move away from the starting point. Using the original polish brush works perfectly for this technique since you can control the pressure and coverage easily. The key is building up the gradient slowly with multiple thin layers rather than trying to achieve the perfect fade in one application.
Holographic and Metallic Accents
Holographic and metallic polishes provide instant drama with their unique light-reflective properties. These finishes make your nails appear intricate and dimensional without requiring detailed nail art skills. Apply these special polishes to one or two nails while keeping the rest in complementary solid colors.
The eye-catching effects of holographic polishes shift and change as light hits them from different angles. Metallic finishes add luxurious shine that elevates even the simplest manicure. Both options work exceptionally well as accent nails and require nothing more than steady application to achieve striking results that look far more complex than they actually are.


Quick and Easy Holiday Nail Art

Transform your nails into festive masterpieces with these beginner-friendly holiday designs that require minimal tools and skills. We’ll show you how to create stunning seasonal looks using simple techniques you’ve already learned.
Seasonal Color Combinations
Classic holiday color palettes make creating festive nail art effortless for beginners. We recommend starting with traditional red and green combinations, which instantly evoke Christmas spirit when alternated across nails or combined in simple stripe patterns. Metallic gold and silver pairings add elegance to any holiday manicure, especially when applied as accent nails or simple color blocks using the striping tape techniques we’ve covered.
Winter blues and crisp whites create beautiful snowflake-inspired looks that work perfectly with the dotting techniques you’ve practiced. These cool tones can be applied as gradient effects using the sponge blending method, creating an icy winter wonderland on your nails. Rich burgundy and champagne gold combinations offer sophisticated holiday glamour that’s perfect for formal celebrations.
Simple Holiday Motifs
Snowflake designs become achievable when you use the dotting techniques we’ve explored, creating simple six-pointed stars with your nail polish brush. Start with a white or silver base, then add small dots arranged in spoke patterns radiating from a center point. These delicate motifs look stunning against dark winter colors like navy or deep purple.
Holly leaves can be painted using basic brush strokes, similar to the leaf accents we discussed in floral designs. Create simple oval shapes in green polish, then add tiny red dots for berries using your dotting tool. Candy cane stripes use the same striping tape methods you’ve learned, alternating red and white sections for that classic peppermint look.
Christmas tree shapes work beautifully as accent nails, created by painting simple triangular forms in green and adding a small yellow dot for the star. These geometric shapes build on the triangle patterns we’ve covered, making them familiar and manageable for beginners.
Festive Glitter Applications
Glitter polish transforms any basic manicure into a holiday celebration without requiring advanced techniques. We suggest applying glitter topcoat over your seasonal colors as accent nails, using the single accent nail method to create focal points that sparkle. This approach lets you practice the glitter application skills we’ve discussed while maintaining a polished, festive appearance.
Gradient glitter effects work exceptionally well for holiday designs, starting dense at the nail tips and fading toward the cuticles. Apply your base color first, then use the sponge blending technique with glitter polish to create that magical, snow-dusted effect. Gold and silver glitters pair beautifully with any holiday color combination.
Holographic polishes create stunning winter effects that catch light like fresh snow or icicles. These special finishes can replace your regular topcoat on accent nails, adding dimension and sparkle that elevates even the simplest holiday designs. The prismatic qualities of holographic polish make every movement create rainbow reflections, perfect for holiday celebrations.


Essential Tips for Long-Lasting Nail Art

Creating beautiful nail art is just the beginning. We need to focus on techniques that keep our designs looking fresh and vibrant for days.
Proper Base Preparation
Clean nails are the foundation of any long-lasting nail art design. We should always remove any existing polish completely and wash our hands thoroughly before starting. Oil-free nails provide the best surface for polish adhesion, so we recommend using rubbing alcohol or nail dehydrator to eliminate any remaining oils.
Base coat application protects our natural nails from staining and creates a smooth surface for our designs. Quality base coats improve polish adhesion significantly, which directly impacts how long our nail art will last. We’ve found that letting the base coat dry completely before applying colors prevents bubbling and extends wear time.
Sealing Techniques
Top coat application seals our nail art and provides essential protection against chipping and fading. We should apply a thin, even layer over the entire design, making sure to cap the tips of our nails for maximum durability. Good quality top coats add shine and create a smooth finish that resists everyday wear.
Reapplying top coat every few days extends the life of our nail art considerably. Fresh top coat layers restore shine and fill in minor surface scratches that occur during daily activities. We recommend keeping a bottle of quick-dry top coat handy for these maintenance applications.
Touch-Up and Maintenance
Prompt chip repair prevents small damage from spreading and ruining our entire design. We should address any chips immediately using the original polish colors and a thin brush for precision work. Quick touch-ups maintain the professional appearance of our nail art between full manicures.
Protective habits preserve our nail art during daily activities. We recommend wearing gloves when cleaning, gardening, or doing dishes to prevent chemical damage and excessive water exposure. Regular cuticle moisturizing keeps the nail area healthy, which supports longer-lasting polish application and prevents lifting around the edges.

Conclusion
We’ve shown you that creating beautiful nail art doesn’t require professional training or expensive equipment. With just a few basic tools and some practice these simple techniques can transform your nails into stunning works of art.
Remember that nail art is all about experimentation and having fun. Don’t worry if your first attempts aren’t perfect – every expert started as a beginner. The key is to start with simple designs and gradually build your confidence and skills.
Now it’s time to grab your nail polish and start creating! Whether you choose dotted patterns geometric shapes or festive holiday themes you have all the knowledge you need to begin your nail art journey. Your next gorgeous manicure is just a few brush strokes away.
Frequently Asked Questions
What tools do I need to start nail art as a beginner?
You’ll need basic nail polish colors (black, white, nude, primary shades), nail art brushes, dotting tools, cleanup brushes, base and top coats, and striping tape. Metallic polishes add glamour to designs. These essential tools are affordable and help create professional-looking results without requiring advanced skills or expensive equipment.
How do I create simple polka dot nail art?
Use everyday items like bobby pins, toothpicks, or dotting tools dipped in nail polish. Apply dots with consistent pressure for even spacing. Start with a base color, let it dry completely, then add dots in contrasting colors. Practice on paper first to get comfortable with the pressure and spacing.
What’s the easiest way to make geometric nail art?
Use striping tape to create clean lines and shapes. Apply your base color, place tape in desired patterns (triangles, squares, stripes), paint over with contrasting color, then remove tape while polish is still wet. This technique ensures precise, professional-looking geometric designs without advanced brush skills.
How can I make my nail art last longer?
Start with clean, oil-free nails and apply a quality base coat. Seal your design with a top coat and reapply every few days. Fix chips immediately and wear gloves during household tasks. Proper preparation and sealing techniques can extend your nail art’s lifespan significantly.
What’s the difference between gradient and ombre nail effects?
Both create color transitions, but gradients typically blend two colors smoothly across the nail. Use a cosmetic sponge or brush to blend colors directly on the nail. Ombre effects can be more dramatic with distinct color zones. Both techniques are beginner-friendly and create professional-looking results.
How do I create simple floral nail art?
Start with basic daisy patterns using dotting tools for petals around a center dot. For roses, use gentle brush strokes in a circular motion. Add simple green leaf accents with a thin brush. Practice basic shapes first, then combine techniques as your confidence grows.
Can I do French manicures at home easily?
Yes! Apply a nude or light pink base, then use striping tape or nail guides to create clean white tips. Try colored French tips with vibrant shades or reverse French manicures painting the lunula area. These variations modernize the classic technique while remaining beginner-friendly.
What are the best holiday nail art ideas for beginners?
Use classic color combinations like red and green or gold and silver. Create simple motifs like snowflakes using dotting tools, candy cane stripes with tape, or Christmas trees with brush strokes. Add glitter topcoats for festive sparkle. Apply techniques you’ve already learned to seasonal designs.
How do I fix mistakes in my nail art?
Keep a cleanup brush dipped in acetone or nail polish remover handy for immediate corrections. For dried mistakes, gently scrape off excess polish with a cuticle pusher, then touch up. Prevention is key—work slowly and let each layer dry completely before proceeding.
What’s the best way to practice nail art techniques?
Start on practice wheels or even paper before working on your nails. Begin with your non-dominant hand to build coordination. Master one technique before moving to the next, and don’t be afraid to experiment with color combinations. Consistent practice builds muscle memory and confidence.