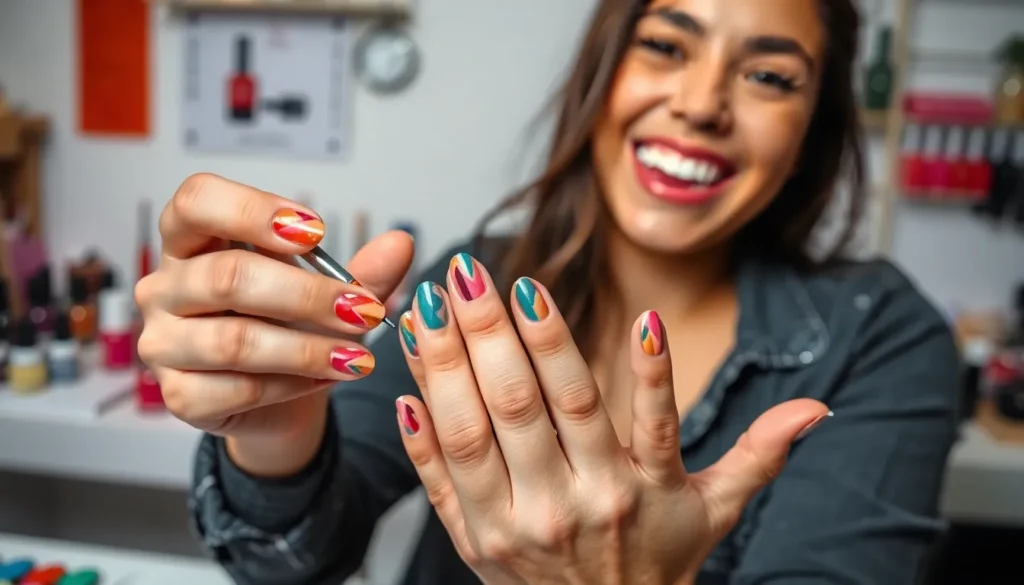
We’ve all admired those stunning nail art designs on social media and wondered if we could recreate them at home. The good news? You don’t need professional training or expensive salon visits to achieve beautiful nails that’ll turn heads and boost your confidence.
Creating gorgeous nail designs at home is easier than you think. With just a few basic tools and simple techniques we’ll share, you can transform your plain nails into eye-catching masterpieces in minutes. Whether you’re preparing for a special occasion or just want to add some flair to your everyday look, these beginner-friendly designs will have you feeling like a nail artist.
We’ve curated the most foolproof DIY nail designs that require minimal skill but deliver maximum impact. From classic French tips with a twist to trendy geometric patterns, these step-by-step tutorials will guide you through each design so you can achieve professional-looking results from the comfort of your home.
Classic French Manicure With a Twist
We’ll transform the timeless French manicure into something uniquely yours using simple techniques that require minimal tools and experience.
Traditional White Tips
Start with clean, shaped nails and apply a clear base coat for protection. We recommend using nail guides or tape to create perfectly straight lines across your nail tips. Paint the tips with white polish in thin, even strokes, allowing each coat to dry completely before adding the next. Remove the guides while the polish is still slightly wet to avoid peeling. Finish with a clear top coat to seal your design and add shine.
Perfect your technique by practicing the sweeping motion on a piece of paper first. We suggest keeping your brush perpendicular to the nail for the most control. Clean up any mistakes with a small angled brush dipped in nail polish remover.
Colored French Tips
Replace traditional white tips with vibrant colors like coral, mint green, or lavender for a modern update. We love using seasonal shades that complement your wardrobe or mood. Apply colored polish using the same technique as traditional French tips, ensuring you maintain the classic curved shape.
Experiment with multiple colors for an ombre effect by blending two complementary shades at the tip line. We recommend choosing colors within the same family for the most cohesive look. Metallic shades like rose gold or silver create stunning results for special occasions.
Try neon colors for summer or deep jewel tones for fall to keep your manicure fresh and trendy. We find that sheer colors work beautifully for subtle variations that still feel professional.
Glitter French Tips
Add sparkle to your French manicure by incorporating glitter polish or loose glitter particles. We suggest applying a thin layer of clear polish to your tips first, then dabbing glitter onto the wet surface for better adhesion. Focus the glitter concentration at the very edge of your nail tip for maximum impact.
Create gradient glitter effects by applying more glitter at the tip and gradually decreasing the density toward the nail bed. We recommend using a makeup sponge to dab and blend the glitter for smooth transitions. Silver and gold glitter work with any base color, while colored glitter adds extra dimension.
Seal your glitter design with two coats of clear top coat to prevent chipping and create a smooth finish. We always allow extra drying time for glitter manicures since they tend to take longer to set completely.
Simple Polka Dot Patterns
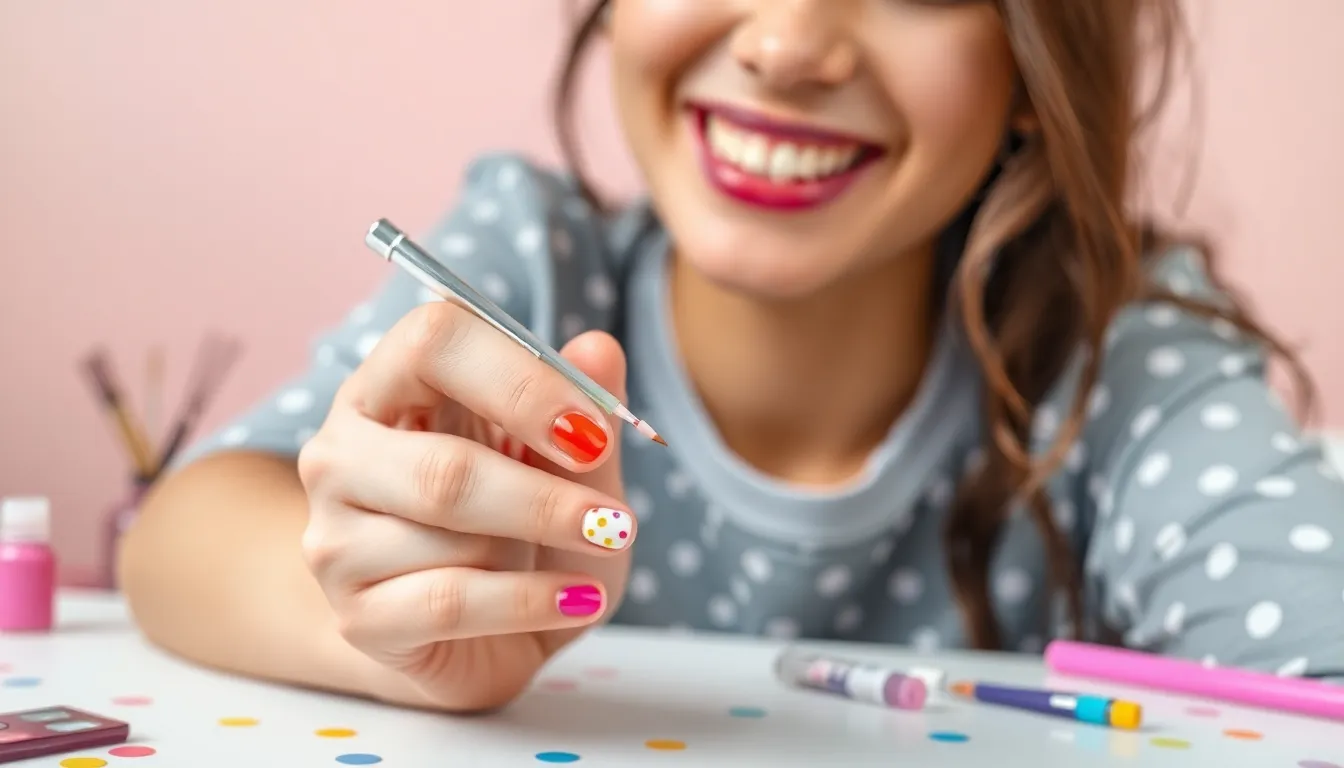
Polka dots rank among the most beginner-friendly nail art designs that we can master at home. This classic pattern requires minimal tools and delivers maximum visual impact for anyone starting their DIY nail journey.
Using a Dotting Tool
Dotting tools make creating perfectly round polka dots effortless for beginners. We’ll apply our base coat and let it dry completely before starting the design process. Next, we’ll dip the dotting tool into our chosen polish color and gently press it onto the nail surface.
Creating alternating color patterns adds vibrant dimension to our polka dot manicure. We can vary the dot sizes by using different ends of the dotting tool or applying varying pressure. The key is maintaining consistent spacing between dots for a professional appearance.
Bobby Pin Alternative Method
Bobby pins serve as excellent substitutes when we don’t have professional dotting tools available. We’ll straighten out the bobby pin and use the rounded end as our makeshift dotting instrument. This method works particularly well for creating smaller, delicate dots across our nail surface.
The technique involves dipping the bobby pin end directly into nail polish and pressing it onto our prepared nail. We can create beautiful patterns by spacing our dots evenly or clustering them for different visual effects. This budget-friendly approach produces results that rival professional dotting tools.
Color Combinations That Work
Monochromatic schemes create sophisticated polka dot designs using different shades of the same color family. We can pair light pink base coats with deeper rose dots for an elegant gradient effect. This approach ensures our manicure looks cohesive while maintaining visual interest.
Neutral bases with bright accent dots deliver striking contrast that catches attention. Beige or white backgrounds paired with bold red or blue dots create timeless appeal. Pastel rainbow combinations offer playful versatility, allowing us to incorporate soft yellows, pinks, and purples for a whimsical finish.
Elegant Striping Tape Designs
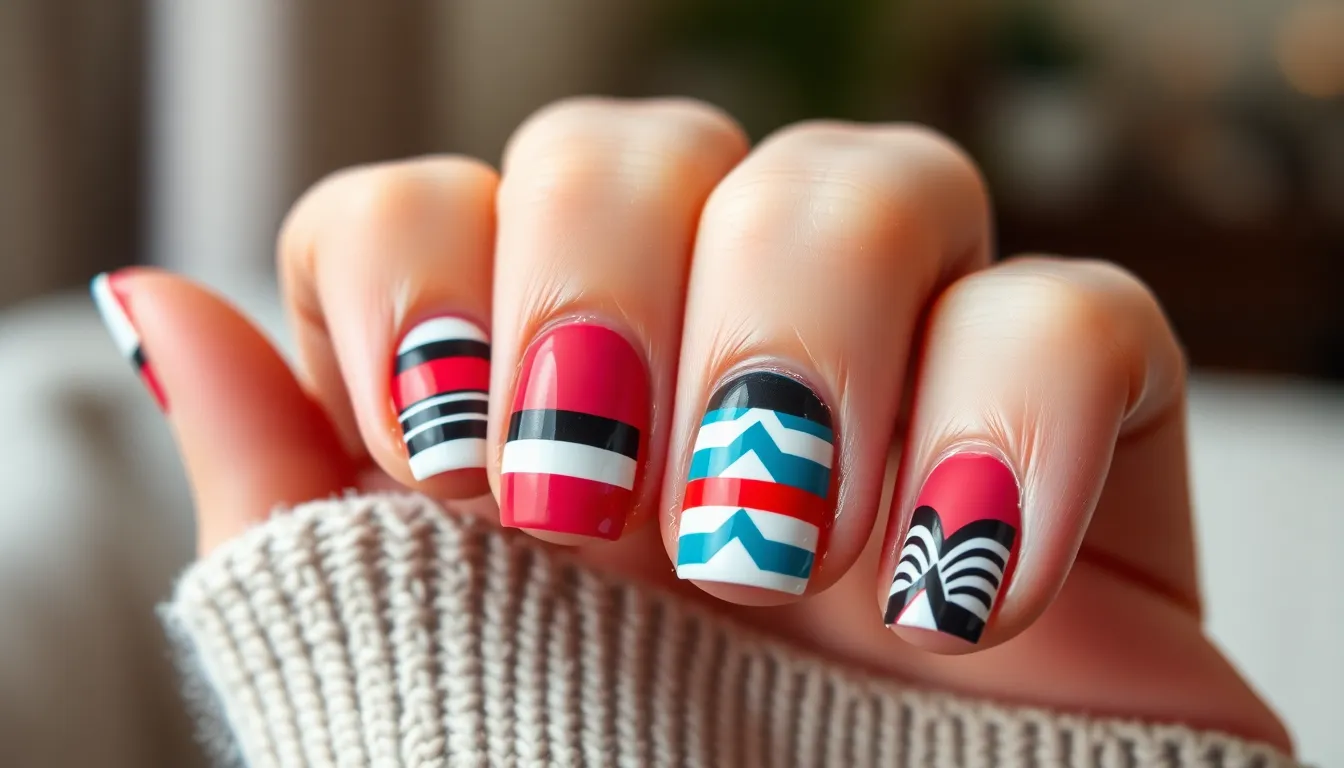
Striping tape transforms ordinary nails into sophisticated masterpieces with minimal effort and maximum impact. This versatile tool creates clean, professional lines that rival salon-quality results.
Basic Straight Lines
Start with a solid base coat and allow it to dry completely before applying your striping tape. Position the tape wherever you want crisp lines to appear, pressing down firmly to prevent polish from bleeding underneath. Apply your contrasting polish color over the entire nail, including the tape areas.
Remove the tape immediately while the polish remains wet for the cleanest lines. Pull the tape away at a 45-degree angle to avoid lifting the dried base color. Seal your design with a quality top coat to protect the finished look and add shine.
Experiment with different line widths by using various tape sizes or layering multiple strips. Vertical lines create an elongating effect that makes fingers appear longer, while horizontal stripes add visual width to narrow nail beds.
Geometric Patterns
Create triangular shapes by positioning tape diagonally across your nail, forming sharp angles that catch light beautifully. Paint within the taped boundaries using bold, contrasting colors for maximum visual impact. Multiple triangles in different sizes create depth and modern appeal.
Square patterns work perfectly for shorter nails and provide a clean, architectural look. Use tape to section off square areas, then alternate colors or finishes like matte and glossy for added interest. Negative space designs using your natural nail color create sophisticated, minimalist effects.
Layer different geometric shapes to build complex patterns that appear professionally designed. Start with larger shapes as your base, then add smaller geometric elements for intricate details that showcase your creativity.
Chevron Designs
Apply tape in V-shaped patterns across your nail surface, creating the classic chevron angle that’s both trendy and timeless. Press tape edges down securely to ensure sharp, clean points when you remove them. Use a nail art brush to smooth out any air bubbles that might cause polish bleeding.
Paint over the entire chevron pattern with your chosen accent color, working quickly to maintain wet polish for tape removal. Remove each piece of tape immediately after painting, starting from one end and pulling smoothly to the other. This technique prevents the polish from drying and cracking along the tape edges.
Vary your chevron spacing to create different visual effects throughout your manicure. Wider chevrons make a bold statement, while narrow ones create subtle texture that complements other nail art elements beautifully.
Effortless Gradient Ombre Nails
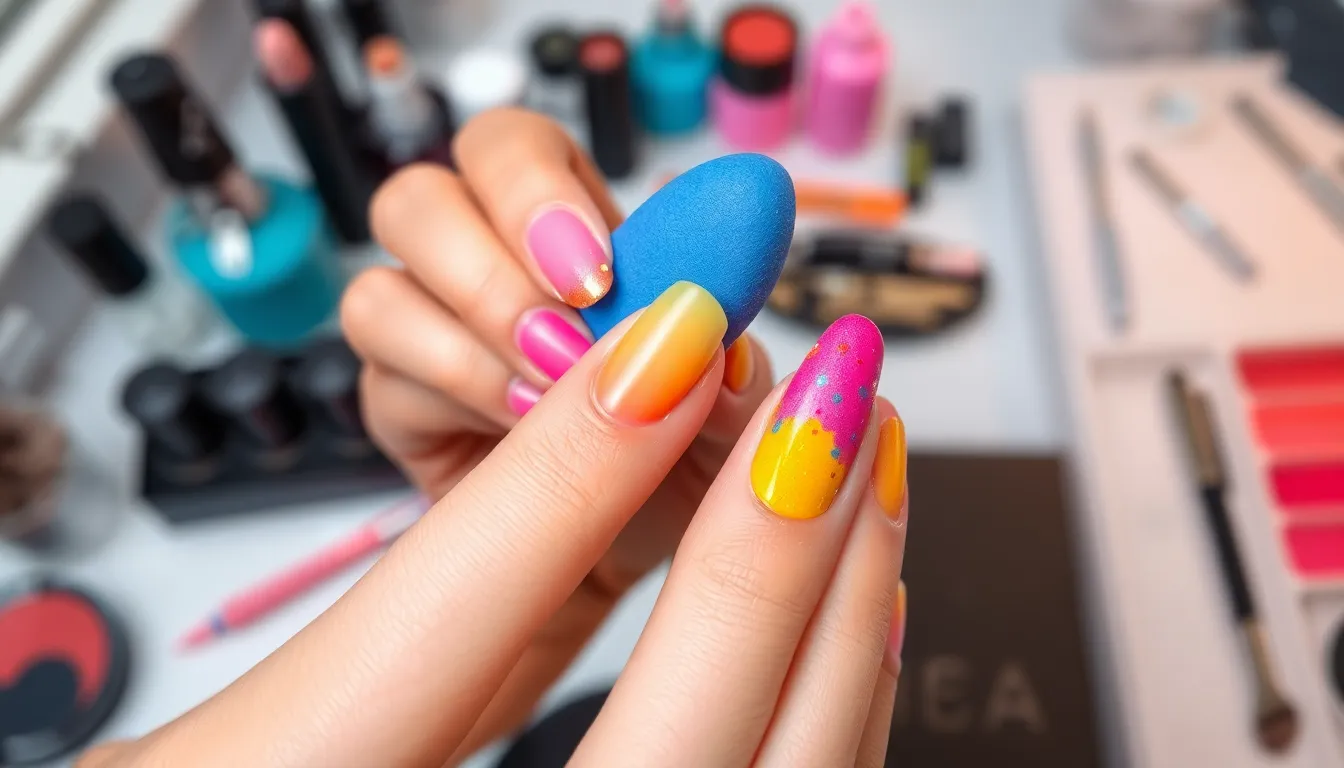
Creating gradient ombre nails brings a professional look that’s surprisingly achievable at home. We’ll explore two reliable methods that deliver smooth color transitions using basic tools you likely already own.
Sponge Technique
Sponge technique creates the most seamless gradient blends by allowing colors to merge naturally on your nail surface. We start by applying a base coat and painting each nail with the lightest chosen color as our foundation.
Apply horizontal stripes of your selected nail polish colors directly onto a makeup sponge, placing them next to each other without gaps. We recommend working with two to three colors maximum for beginners to avoid muddy results.
Dab the sponge lightly onto your nail using a gentle bouncing motion rather than dragging or wiping. We repeat this process until the colors blend smoothly, creating that coveted ombre effect.
Reapply polish stripes to the sponge between applications since the colors will transfer during dabbing. We find that two to three rounds of dabbing typically produce vibrant, well-blended results.
Clean up the edges using a small brush dipped in nail polish remover for professional-looking borders. We suggest doing this step while the polish is still slightly tacky for easier cleanup.
Brush Blending Method
Brush blending method offers more control over color placement and works particularly well for subtle gradient effects. We begin by painting nails with the lightest color and allowing them to dry completely.
Paint a thin line of darker color at the nail tip using the brush from your nail polish bottle. We keep this line relatively narrow since we’ll be blending it upward to create the gradient.
Blend the colors while the polish remains wet by gently stroking the brush upward from the tip toward the base. We use light, feathering motions to avoid creating harsh lines or streaks.
Work quickly during the blending process since nail polish begins to set within 30 seconds. We recommend practicing this technique on paper first to develop your blending rhythm.
Seal with a clear top coat once the gradient appears smooth and even. We always apply this final layer to enhance shine and extend the manicure’s lifespan.
Color Transition Tips
Select shades within the same color family for foolproof blending results that look intentional rather than muddy. We find that analogous colors on the color wheel create the most natural-looking transitions.
Work with wet polish consistently throughout the blending process to achieve seamless color merging. We suggest having all your colors ready before starting since timing is crucial for smooth results.
Practice on nail tips or paper before attempting the design on your actual nails. We recommend testing different color combinations and pressure levels to find what works best for your technique.
Use a quality top coat to unify the gradient and add professional shine to your finished design. We’ve found that top coats also help blend any remaining harsh lines between colors.
Keep tools clean by wiping excess polish from brushes and sponges between applications. We prevent color contamination and clumping by maintaining clean tools throughout the process.
Chic Accent Nail Ideas
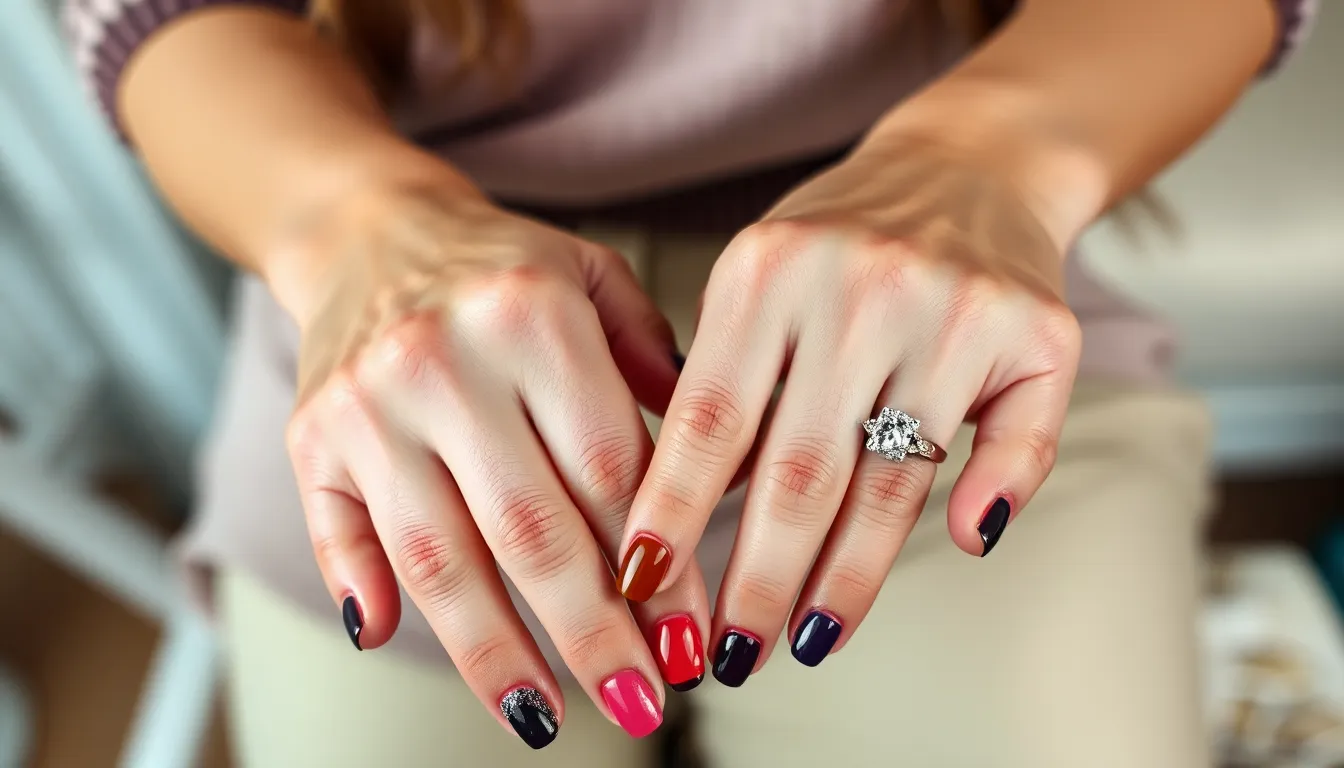
Creating sophisticated nail art doesn’t require complex techniques when you focus on strategic accent placement. These chic accent nail approaches let you experiment with bold colors while maintaining an elegant overall look.
Single Statement Nail
Choose one nail as your canvas for maximum impact while keeping the rest understated. We recommend painting all nails with your favorite base color, then selecting the ring finger for your accent nail transformation.
Apply a contrasting color to create that perfect pop of visual interest. Bold jewel tones like emerald green or sapphire blue work beautifully against neutral bases, while metallic shades add instant glamour to any look.
Experiment with textures to make your statement nail even more striking. Glitter polish, matte finishes, or holographic topcoats can transform a simple accent into a true focal point.
Ring Finger Focus
Transform your ring finger into the star of your manicure with this classic accent technique. We love how this approach draws attention to your most prominent finger without overwhelming your entire hand.
Select bold colors that complement but contrast with your base shade for the most effective results. Deep burgundy against soft pink, or electric blue paired with cream creates stunning visual balance.
Use tape for precision when you want clean, professional looking lines. Apply thin strips of nail tape to create geometric shapes, diagonal splits, or curved designs that elevate your ring finger accent.
Add small embellishments like rhinestones or nail stickers to make your ring finger truly special. We find that placing decorative elements near the cuticle area creates the most elegant effect.
Thumb Accent Options
Make your thumbs shine with creative accent designs that are easy to see and admire throughout the day. These larger nail surfaces provide perfect space for beginner friendly patterns and colors.
Create simple dot patterns using a dotting tool or even a toothpick for perfectly round circles. We suggest starting with three dots in a triangle formation, then expanding to lines or clusters as you gain confidence.
Try contrasting solid colors that complement your other nails while standing out beautifully. Coral thumbs with nude fingers, or silver thumbs with black nails create striking combinations that feel intentional and chic.
Apply gradient effects from your cuticle to tip using a makeup sponge for smooth color transitions. This technique works especially well on thumbs since their size allows the gradient to develop fully and showcase the color blend.
Basic Stamping Techniques
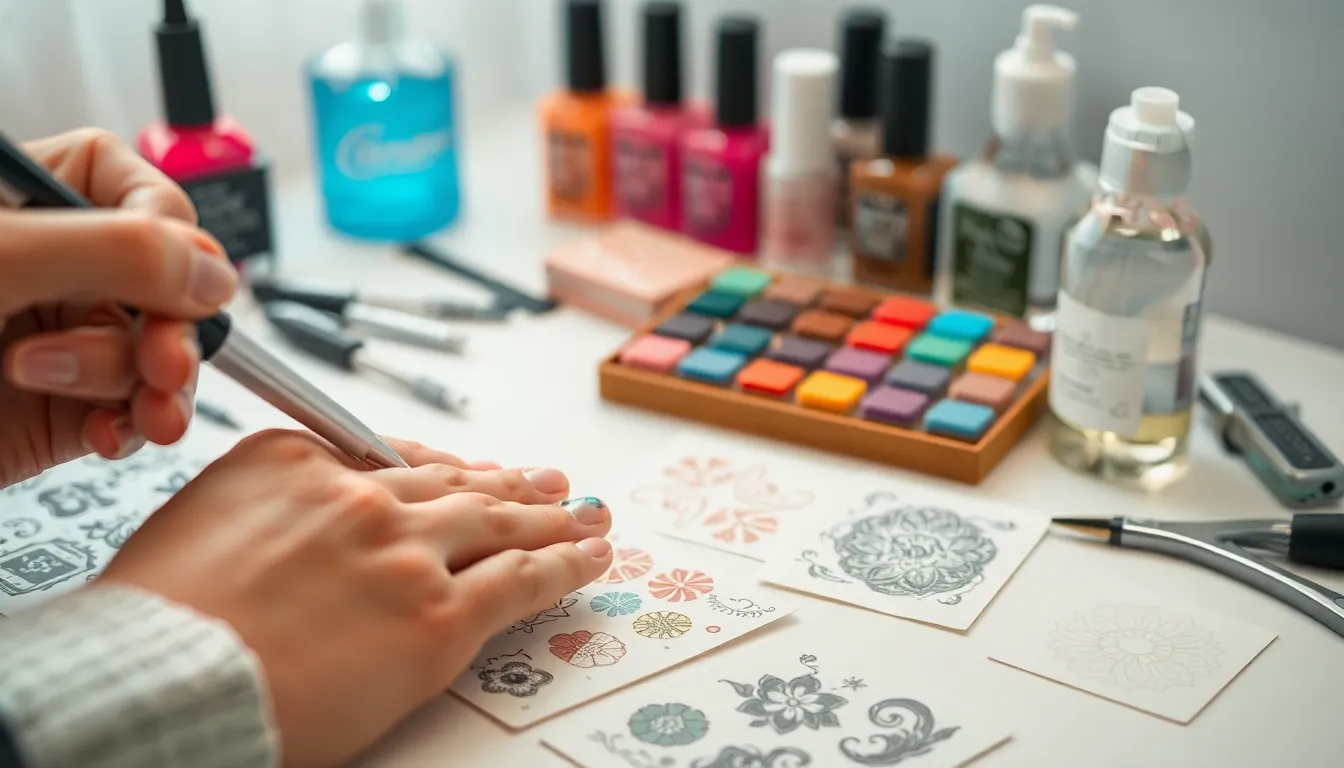
Building on our foundation of simple nail art techniques, we’re now ready to explore stamping, which creates intricate designs with minimal effort. This technique opens doors to complex patterns that would be challenging to paint freehand.
Choosing Your First Stamps
Starting with simple designs like stripes or dots gives beginners the best chance of success. These forgiving patterns won’t show minor imperfections as obviously as detailed images would. Clear stampers offer a important advantage because they let us easily align designs with our nails, ensuring perfect placement every time.
Selecting the right stamping plate makes all the difference in our results. We recommend choosing plates with deeper etches that hold more polish, creating bolder transfers. Quality matters more than quantity when building our first collection.
Application Process
Preparing our nails properly sets the stage for stunning results. We must ensure our base coat is completely dry before beginning the stamping process, as any moisture will prevent proper adhesion.
| Step | Action | Key Tip |
|---|---|---|
| 1 | Apply thin stamping polish layer | Work quickly before polish dries |
| 2 | Scrape at 45-degree angle | Remove excess polish cleanly |
| 3 | Press stamper onto design | Use gentle rolling motion |
| 4 | Transfer to nail immediately | Apply with slight rolling pressure |
Working swiftly is crucial because stamping polish dries faster than regular polish. We press the stamper over the design, then immediately transfer it to our nail using a gentle rolling motion rather than straight pressure.
Cleanup and Finishing
Cleaning our tools between uses keeps designs crisp and prevents muddy colors. Acetone removes polish residue from both the plate and stamper effectively, ensuring our next design transfers cleanly.
Removing excess polish from our skin requires precision and the right tools. We use tape or a cleanup brush dipped in acetone to carefully eliminate any stray polish without disturbing our design. Small detail brushes work best for intricate cleanup around our cuticles.
Sealing our stamped design with a smudge free top coat protects our artwork and adds professional shine. We apply the top coat in thin layers to prevent smearing the delicate stamped pattern underneath.
Simple Freehand Flowers
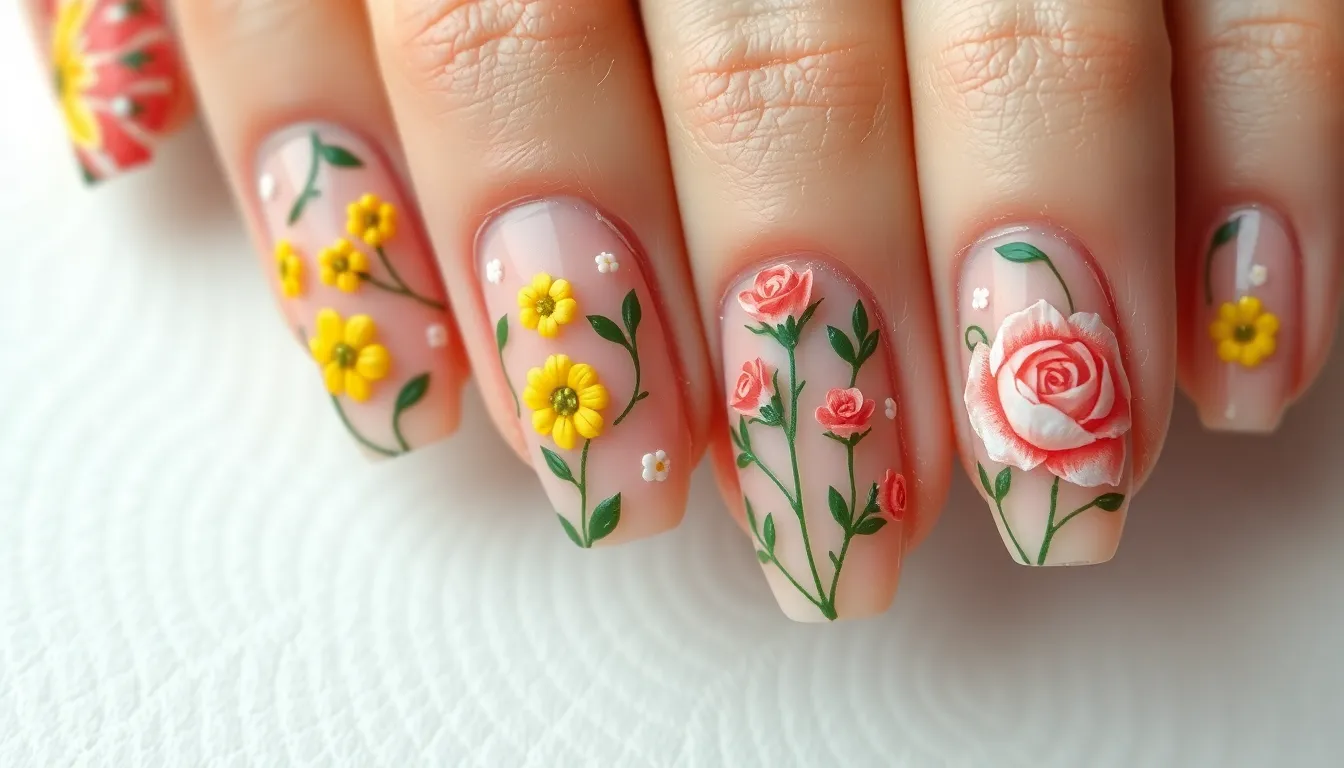
Freehand flowers offer the perfect starting point for nail art beginners who want to create beautiful designs using only standard nail polish brushes. We’ll show you how to master these beginner-friendly techniques that require no special tools beyond your regular polish collection.
Basic Daisy Design
Creating daisy designs starts with painting a small yellow dot in the center of your nail for the flower’s core. Use the tip of your white polish brush to make curved strokes radiating outward from this yellow center, forming delicate petals around the dot. Each petal stroke should be slightly elongated and evenly spaced around the center for a balanced daisy appearance.
Position six to eight petals around each flower center to achieve the classic daisy look. Apply gentle pressure when creating each petal stroke to maintain consistent thickness throughout your design. Finish your daisy nails with a clear top coat to seal the design and add a glossy, professional finish.
Easy Rose Technique
Rose designs begin with selecting a slightly darker base color that will serve as your background canvas. Create a small dot using your chosen rose color for the flower’s center point. Use either a fine brush or the edge of your regular polish brush to make several small, curved strokes extending outward from this central dot.
Layer two to three curved strokes around the center to mimic the natural spiral pattern of rose petals. Apply a lighter shade of the same color family for the outer petal layers to add visual depth and dimension to your roses. Build each rose gradually, allowing each layer to partially dry before adding the next set of petals.
Leaf and Stem Details
Green polish transforms your flower designs into complete botanical artwork through simple stem and leaf additions. Draw thin lines connecting your flowers to create natural looking stems using the tip of your polish brush. Create small pointed strokes extending from these stems to form realistic leaf shapes.
Use short, precise movements when painting leaves to achieve clean, sharp points at each leaf tip. Vary the leaf sizes and angles around your stems to create a more organic, natural appearance. Apply these green details after your flowers have completely dried to prevent color bleeding and maintain crisp lines throughout your floral nail design.
Minimalist Geometric Shapes
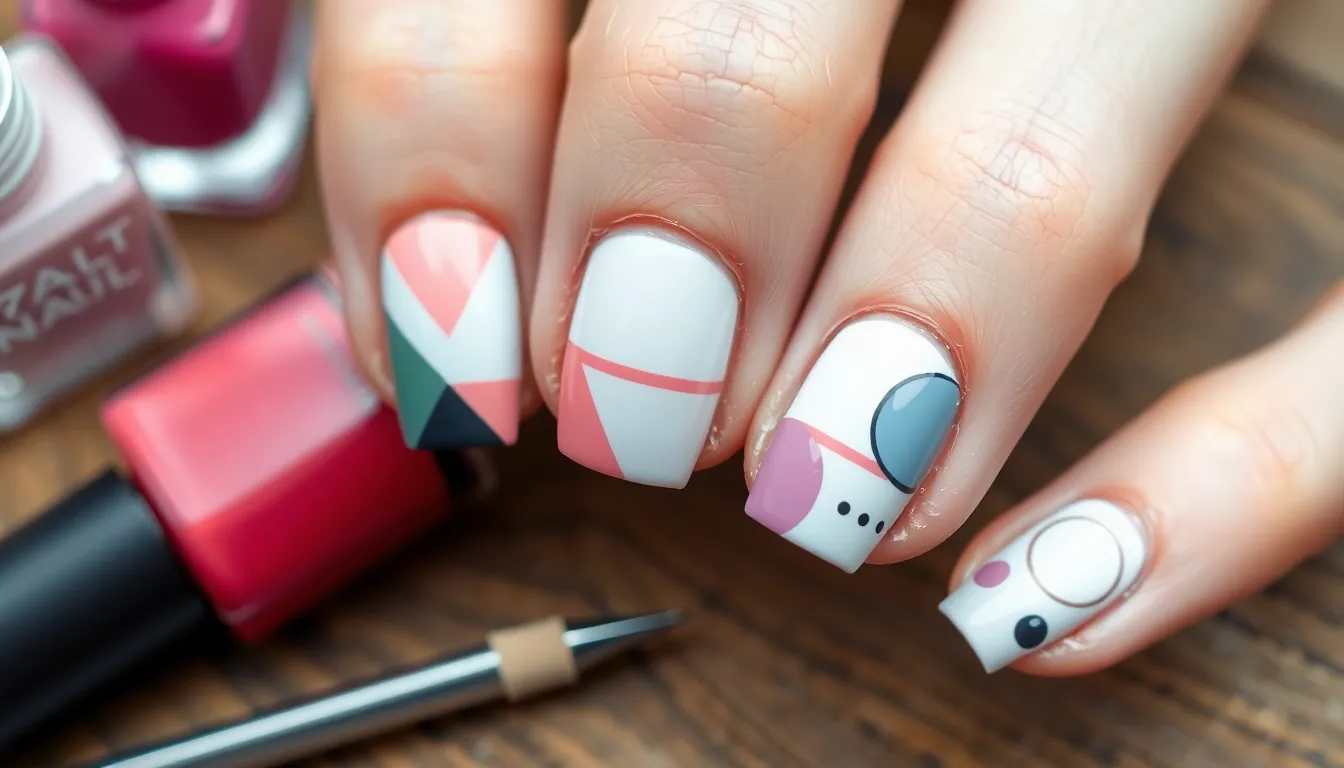
Clean lines and simple shapes create stunning nail art that’s perfect for beginners. We’ll show you how to master three essential geometric patterns using basic tools you likely already have at home.
Triangle Designs
Pointed triangles at nail tips create an instantly modern look that’s surprisingly easy to achieve. We recommend starting with a contrasting color against your base shade for maximum impact.
Tape placement makes creating sharp triangle edges effortless. Apply nail tape diagonally across your nail tip, paint over the exposed area, and carefully remove the tape while the polish is still slightly wet.
Multiple triangle patterns across the entire nail surface add visual interest without overwhelming the design. Space small triangles evenly using nail tape as your guide, alternating between two complementary colors for a sophisticated checkerboard effect.
Triangle accents work beautifully as statement pieces on just one or two nails. Paint a single bold triangle at the corner or center of your accent nail while keeping the other nails in a neutral shade.
Square Patterns
Checkered effects bring retro charm to your nails using simple square patterns. We suggest using nail tape to create perfect grid lines, then alternating between two colors to fill in the squares.
Single square accents provide a bold focal point without requiring advanced skills. Paint one prominent square in a contrasting color at your nail’s center, ensuring the edges are clean and precise.
Grid designs across multiple nails create a cohesive geometric theme. Use thin nail tape to mark your grid lines, then fill alternating squares with different colors or leave some squares clear for a negative space effect.
Square French tips offer a modern twist on the classic manicure. Replace traditional curved tips with straight horizontal lines, creating clean square shapes at your nail tips.
Circle Arrangements
Dotting tools create perfectly round circles every time, making them essential for geometric nail art. We recommend starting with larger dots and gradually decreasing the size for a ever-changing arrangement.
Random dot patterns across the nail surface look effortlessly chic when planned strategically. Space your circles unevenly but maintain visual balance by varying the sizes and keeping consistent spacing between elements.
Single circle accents make powerful statements when placed at the nail’s center or corner. Choose a bold color that contrasts with your base shade, ensuring the circle is perfectly round and well-defined.
Graduated circle sizes create depth and movement in your design. Start with a large circle and surround it with progressively smaller ones, using the same color family for a cohesive look.
Bobby pin alternatives work perfectly when you don’t have professional dotting tools. Dip the rounded end in nail polish and gently press onto your nail for instant circles.
Quick Glitter Application Methods
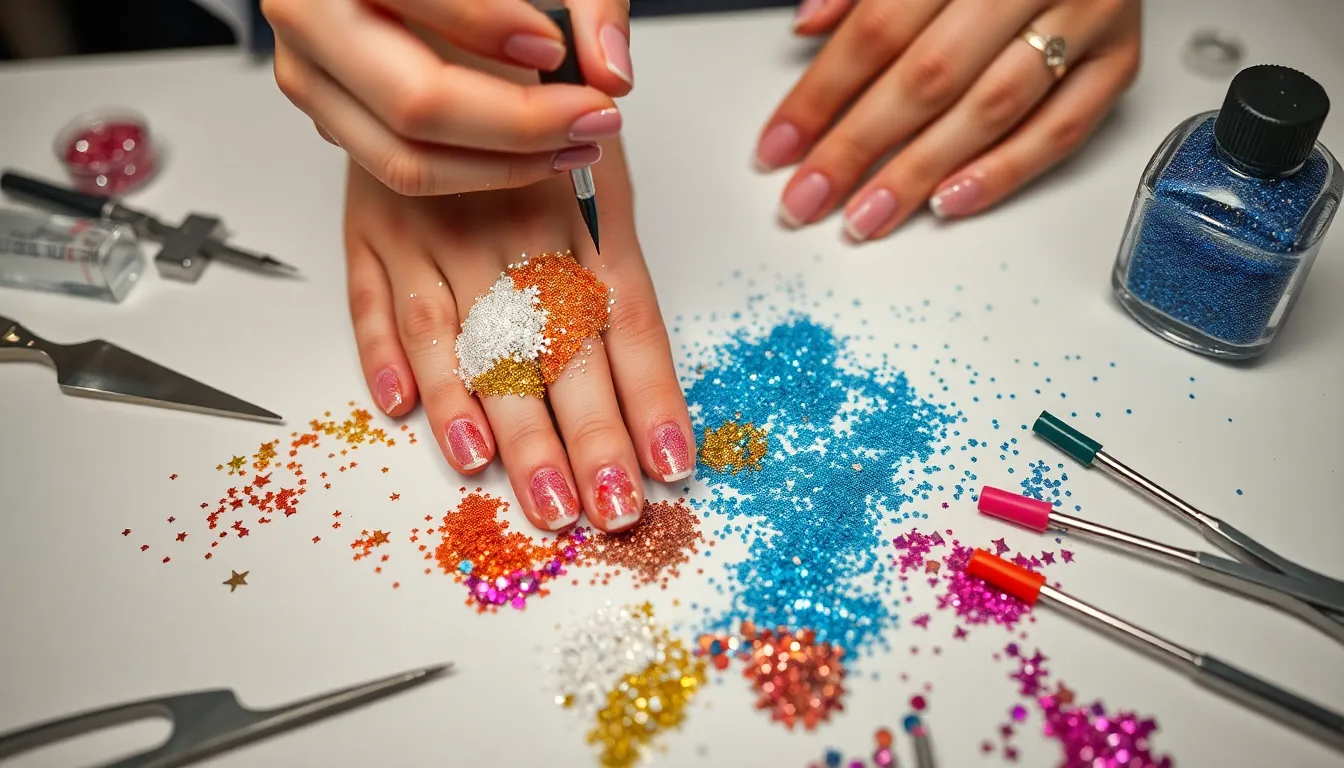
Adding sparkle to your nails doesn’t require expensive salon equipment or professional training. We’ll show you three foolproof techniques that transform ordinary manicures into dazzling masterpieces using simple tools you likely already have at home.
Full Coverage Glitter
Dunk and tap method creates the most even glitter coverage across your entire nail surface. Apply a thin layer of clear polish or gel polish to create a sticky base. Immediately dip your nail into a container of loose glitter while the polish remains tacky. Gently tap off excess glitter particles to achieve your desired coverage level.
Brush application technique offers more control over glitter placement and density. Use a small glitter brush to pick up loose glitter and pat it onto your cured gel polish base. Press the glitter down gently and brush it across the nail surface for an even finish. Seal everything with a quality top coat to prevent glitter from shedding throughout the day.
Base preparation ensures longer lasting results and smoother application. Start with a proper base coat followed by your chosen clear polish or gel base. Allow each layer to dry completely before adding glitter to prevent smudging or uneven coverage.
Glitter Tips
Fine glitter particles work best for subtle everyday looks and professional settings. Choose chunky glitter pieces when you want bold statement nails that catch light dramatically. Mix different glitter sizes within the same color family to create depth and visual interest.
Edge control technique prevents patchy coverage along nail borders and cuticle lines. Tilt your nail at a slight angle during application to ensure glitter reaches all edges evenly. Use a small brush to push glitter into corners and along the cuticle area for complete coverage.
Stippling method provides the most controlled glitter distribution for precise designs. Pick up loose glitter with a stippling brush and lightly tap it onto exact nail areas. Build coverage gradually by repeating the tapping motion until you achieve your desired intensity.
Accent Placement
Ring finger focus creates sophisticated accent nails without overwhelming your overall look. Apply full glitter coverage only to your ring finger while keeping other nails in solid colors or subtle designs. This strategic placement draws attention without appearing too flashy for work or formal occasions.
Thumb accent options add unexpected sparkle to your manicure design. Use contrasting glitter colors on your thumbs to create visual balance with your accent ring finger. Apply glitter in exact patterns like half moons or diagonal stripes for modern geometric effects.
Pattern application transforms simple glitter into intricate nail art designs. Use small brushes to apply glitter in dots, stripes, or gradient effects on individual nails. Create ombre transitions by applying dense glitter at the nail tip and gradually decreasing coverage toward the base.
Essential Tools and Supplies for Beginners
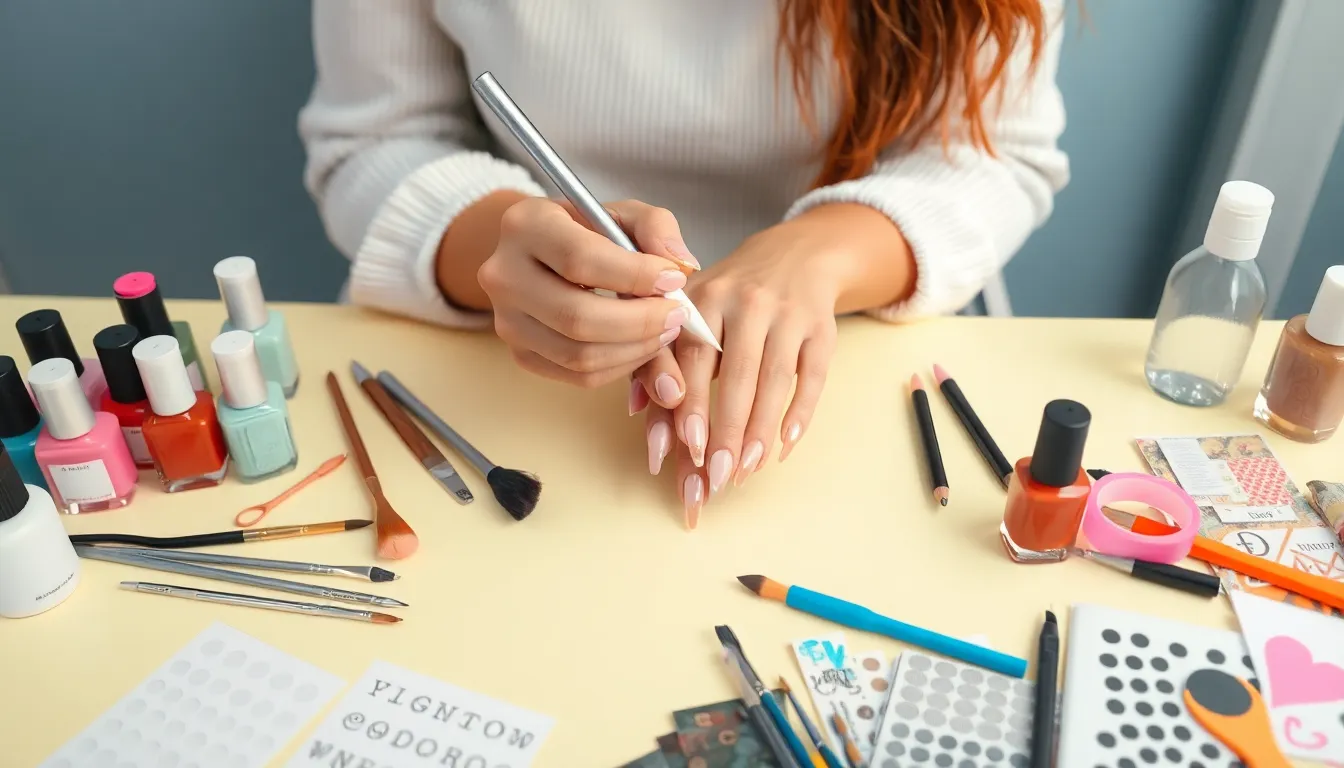
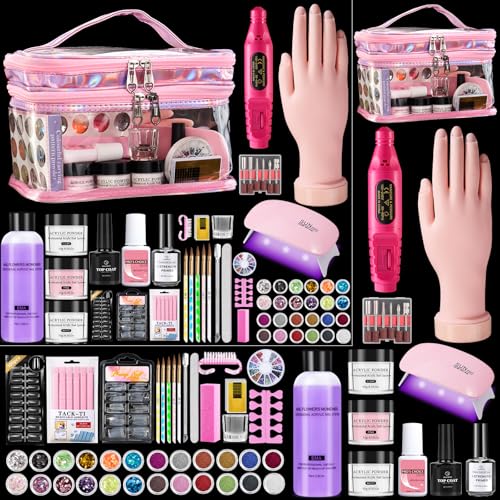
Getting started with DIY nail art doesn’t require a massive investment or professional equipment. We’ll walk you through the must-have supplies that’ll set you up for success with any beginner nail design.
Basic Nail Polish Collection
Clear base coat serves as your foundation for every nail design, protecting your natural nails while helping colors adhere better. We recommend starting with this essential layer before applying any decorative polish.
Clear top coat acts as your protective seal, locking in your design and extending its wear time. This finishing touch prevents chipping and adds a professional glossy shine to your completed nail art.
Neutral color palette offers the most versatility for beginners learning different techniques. White polish creates clean backgrounds for accent designs, while black provides bold contrast for geometric patterns and stripes.
Pastel shades work perfectly for subtle gradient effects and delicate floral designs. These softer tones are forgiving for beginners and blend beautifully with other colors in your collection.
Must-Have Application Tools
Nail polish brushes give you complete control over your designs, whether you’re using the built-in brush or investing in separate fine-tip brushes for detailed work. Quality brushes make the difference between amateur and professional-looking results.
Nail tape creates perfectly straight lines without the guesswork, making it essential for geometric designs and French manicures. This inexpensive tool eliminates shaky hand issues that often plague beginners.
Nail stickers simplify complex patterns that would otherwise require advanced skills, allowing you to achieve intricate designs like florals or abstract art instantly. We suggest keeping a variety of sticker designs on hand for quick accent nails.
Dotting tools or toothpicks enable perfect circles in various sizes, from tiny polka dots to larger accent features. These simple tools open up countless design possibilities without requiring expensive equipment.
Cleanup Essentials
Nail polish remover handles mistakes during application and completely cleans nails between designs. Acetone-based removers work fastest, while acetone-free options are gentler on your nail beds.
Cotton balls provide gentle cleanup around the nail area without scratching or damaging your cuticles. We prefer using these over rough paper towels for delicate cleanup work.
Nail polish remover pads offer precision cleaning for small mistakes or detailed cleanup around your nail edges. These pre-soaked pads give you better control than liquid remover for spot corrections.
Cuticle oil keeps your nail beds healthy throughout your nail art journey, preventing dryness and maintaining flexibility around your nails. Regular application ensures your hands look as good as your nail designs.
Conclusion
We’ve shown you that creating beautiful nail art doesn’t require years of training or expensive salon visits. With these beginner-friendly techniques and basic tools you can transform your nails into stunning works of art right from your own home.
Remember that practice makes perfect and every nail artist started somewhere. Don’t be discouraged if your first attempts aren’t flawless – each design you create helps you develop better control and confidence.
Start with one or two techniques that appeal to you most and gradually expand your skills. Whether you choose French tips polka dots or geometric patterns you’ll soon discover that professional-looking results are well within your reach.
Your nail art journey begins now and we can’t wait to see the amazing designs you’ll create!
Frequently Asked Questions
What basic tools do I need to start DIY nail art at home?
You’ll need a clear base coat, clear top coat, nail polish in neutral colors, nail brushes, nail tape, dotting tools, nail polish remover, cotton balls, and cuticle oil. These essentials will allow you to create most beginner-friendly designs without a massive investment.
How do I create a perfect French manicure at home?
Start with a clear base coat, then use nail guides or tape to create straight lines. Apply white polish to the tips for classic French, or experiment with colored tips and glitter for creative variations. Finish with a clear top coat for a polished look.
What’s the easiest nail art design for complete beginners?
Polka dots are the most beginner-friendly design. Use dotting tools or bobby pins to create perfectly round dots. Start with simple color combinations like monochromatic schemes or neutral bases with bright accent dots for striking contrast.
How do I create smooth ombre gradient nails?
Use the sponge technique by applying different colored polishes to a makeup sponge and dabbing onto your nail. Alternatively, try brush blending for more control. Select complementary colors and seal with a top coat for best results.
What are accent nails and how do I create them?
Accent nails involve decorating one nail (usually the ring finger) with a bold design while keeping others simple. Use contrasting colors, textures, or embellishments on the accent nail to create visual impact without overwhelming the overall look.
How do I use nail stamping for intricate designs?
Start with simple patterns like stripes or dots. Apply thin stamping polish, scrape at 45 degrees, and use a rolling motion to transfer designs. Use clear stampers for precise alignment and clean tools with acetone between uses.
Can I create flower designs without artistic skills?
Yes! Use standard nail polish brushes to create basic daisies and roses. Start with simple petal shapes, layer colors for depth, and add leaves or stems to complete the floral look. Practice makes perfect with freehand designs.
How do I apply glitter evenly to my nails?
Use the dipping method for full coverage by dipping nails into loose glitter, or try brush application for controlled placement. Prepare nails with a base coat and use stippling motions for precise designs. Focus on accent nails for sophisticated looks.
What geometric shapes are easiest for beginners?
Start with triangles using nail tape for sharp edges, squares for checkered effects, and circles using dotting tools. These basic shapes can be combined and varied in size to create sophisticated geometric patterns with minimal skill required.
How long do DIY nail art designs typically last?
With proper base and top coat application, most DIY nail art designs last 5-7 days. Stamped designs and geometric patterns tend to last longer, while intricate freehand designs may chip sooner. Regular touch-ups can extend wear time.

